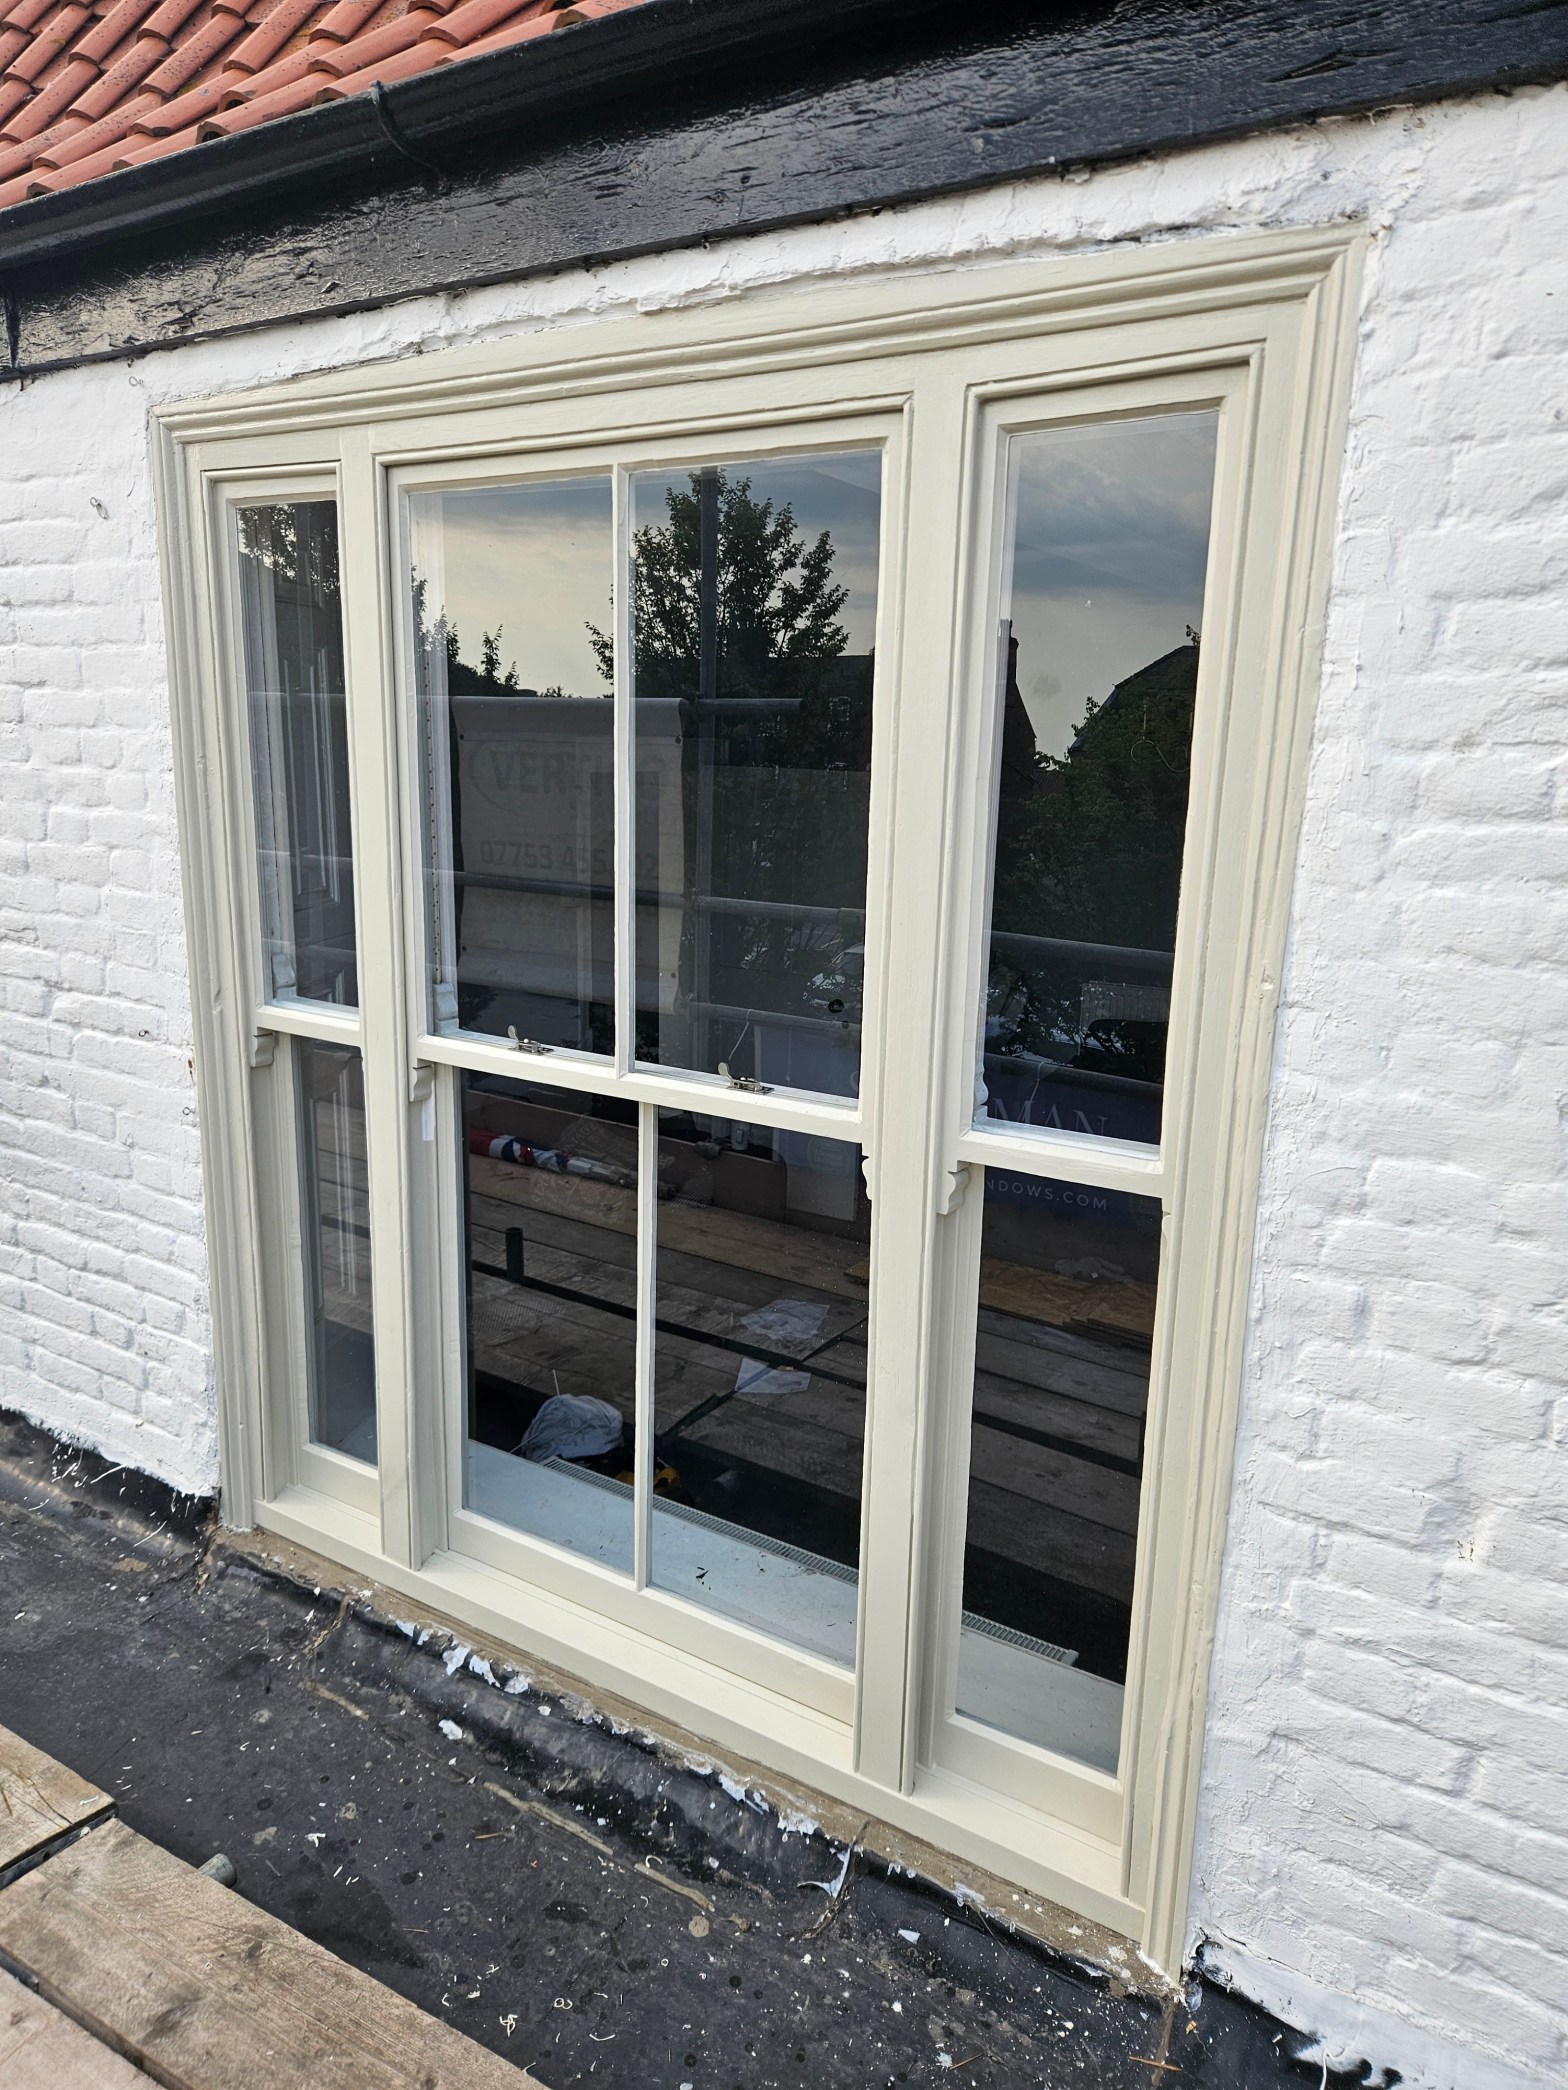
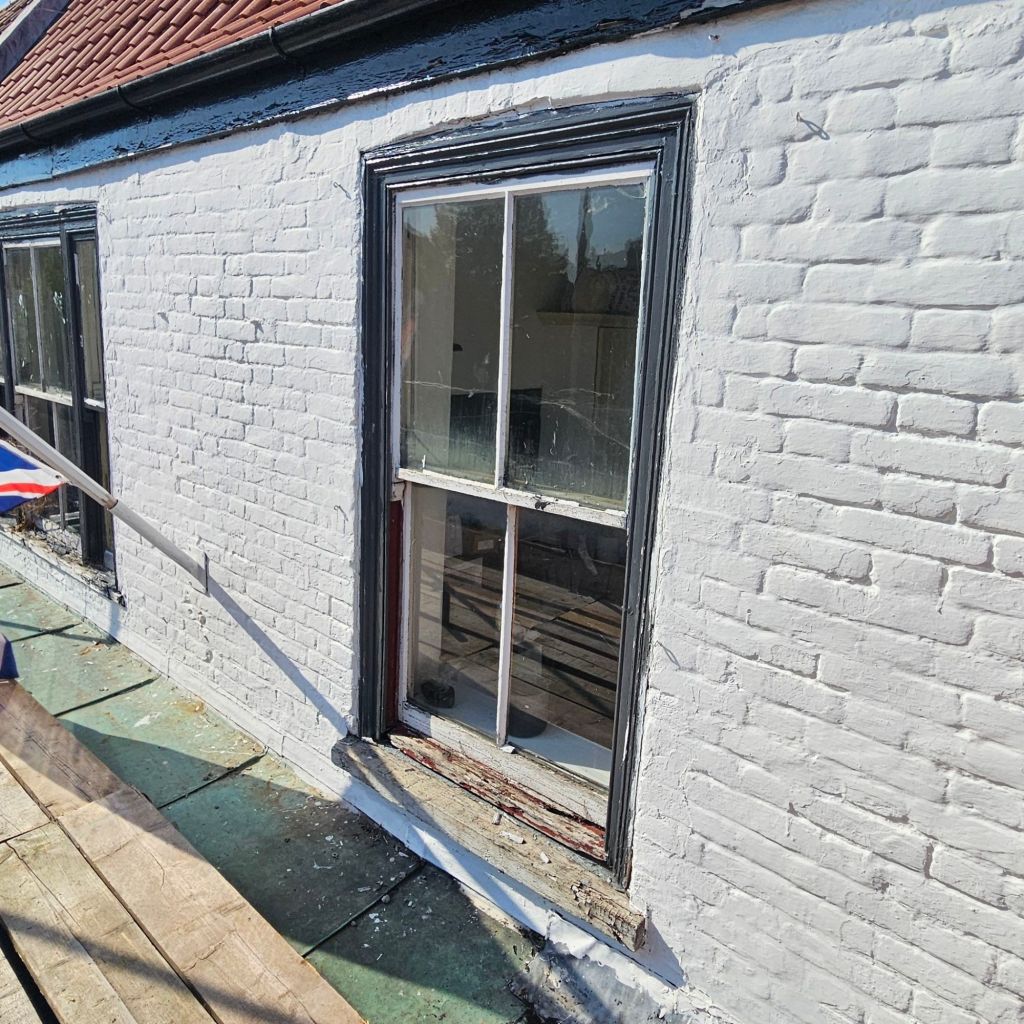
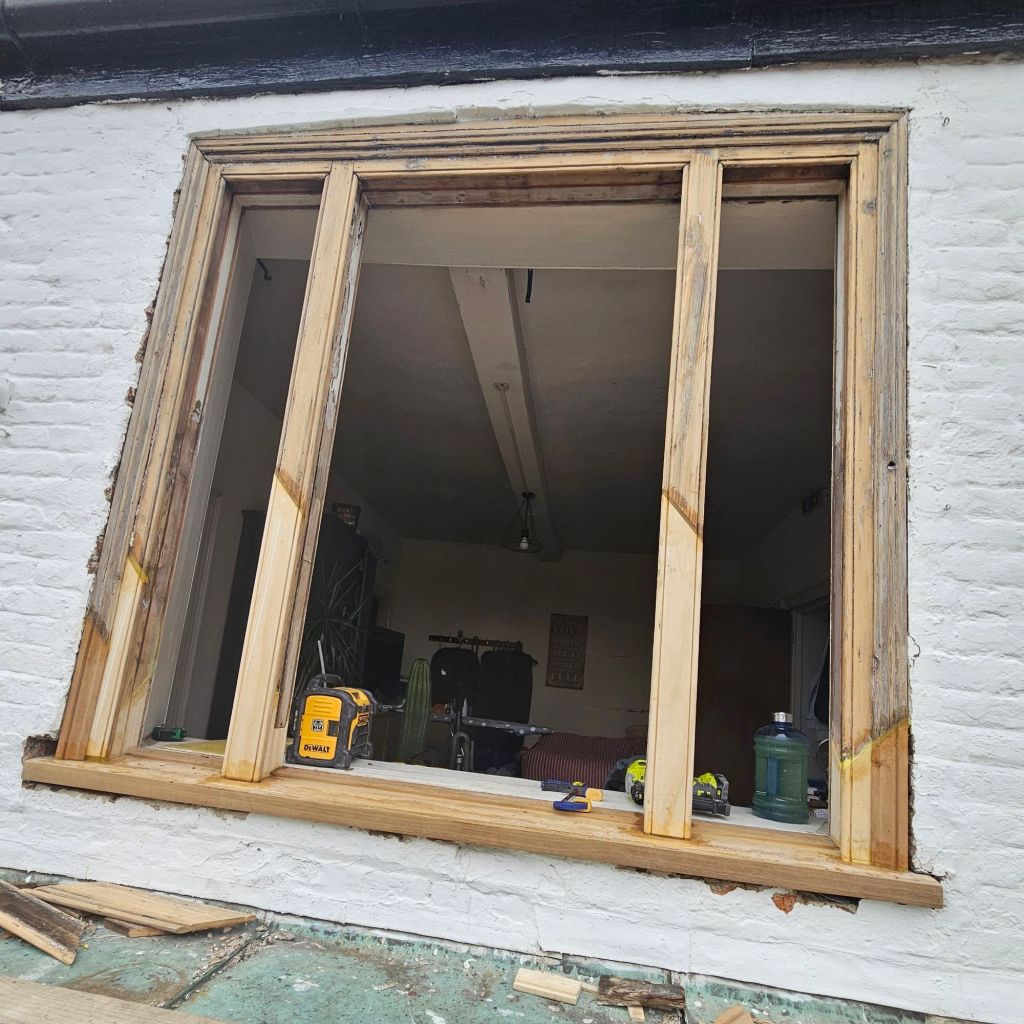
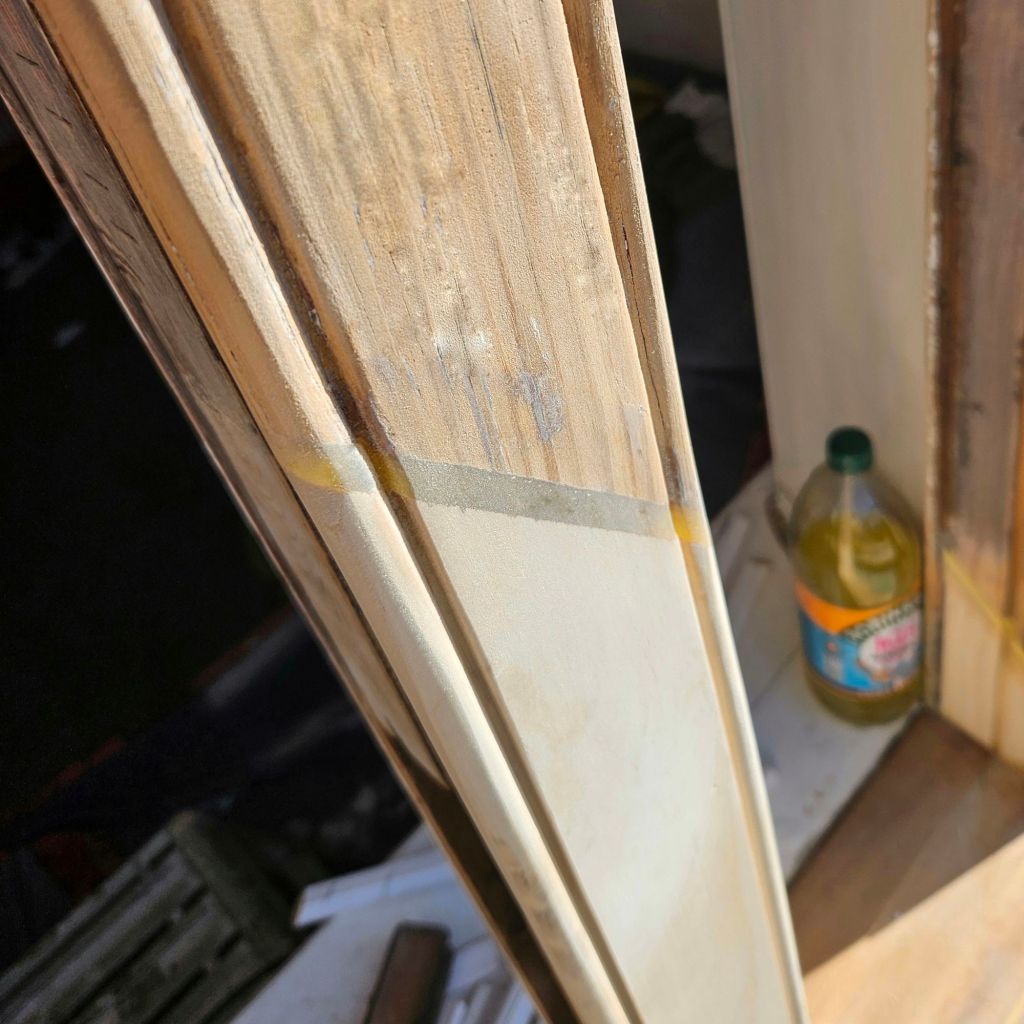
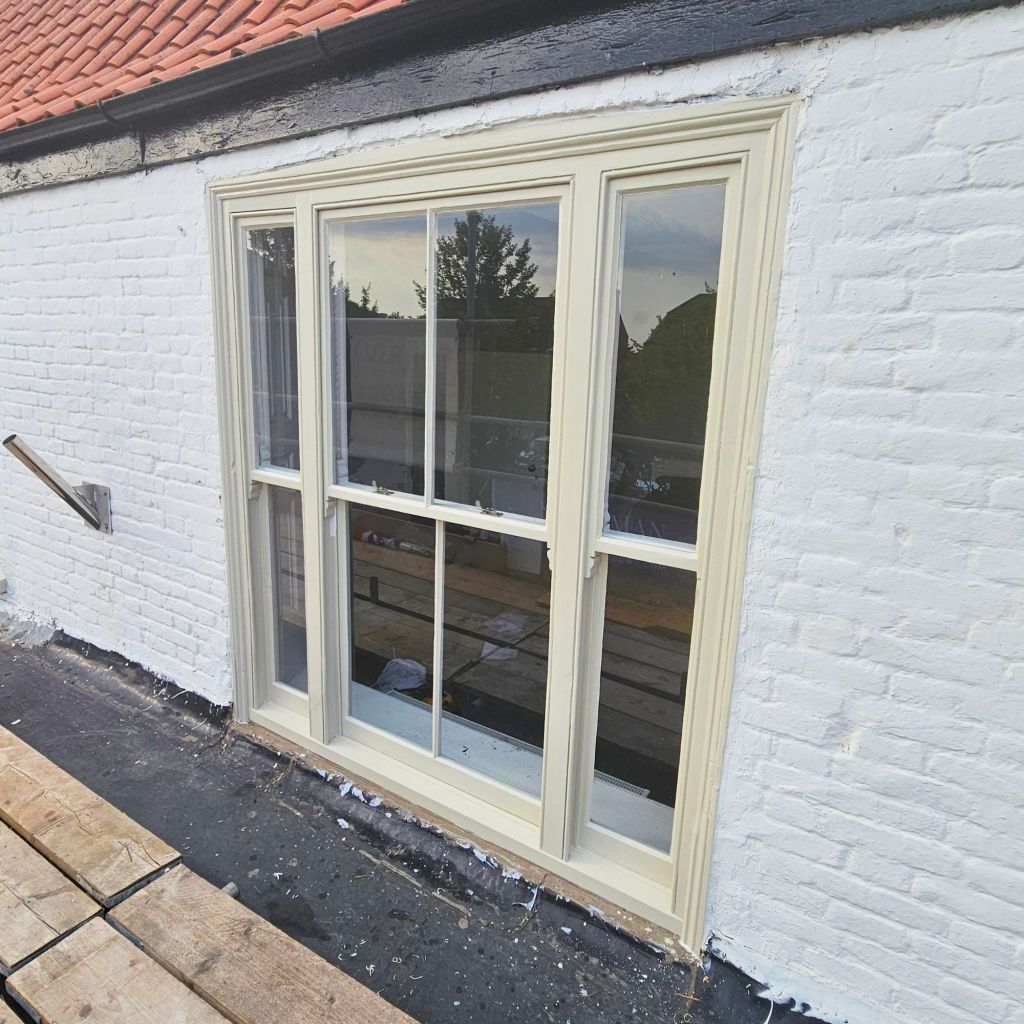
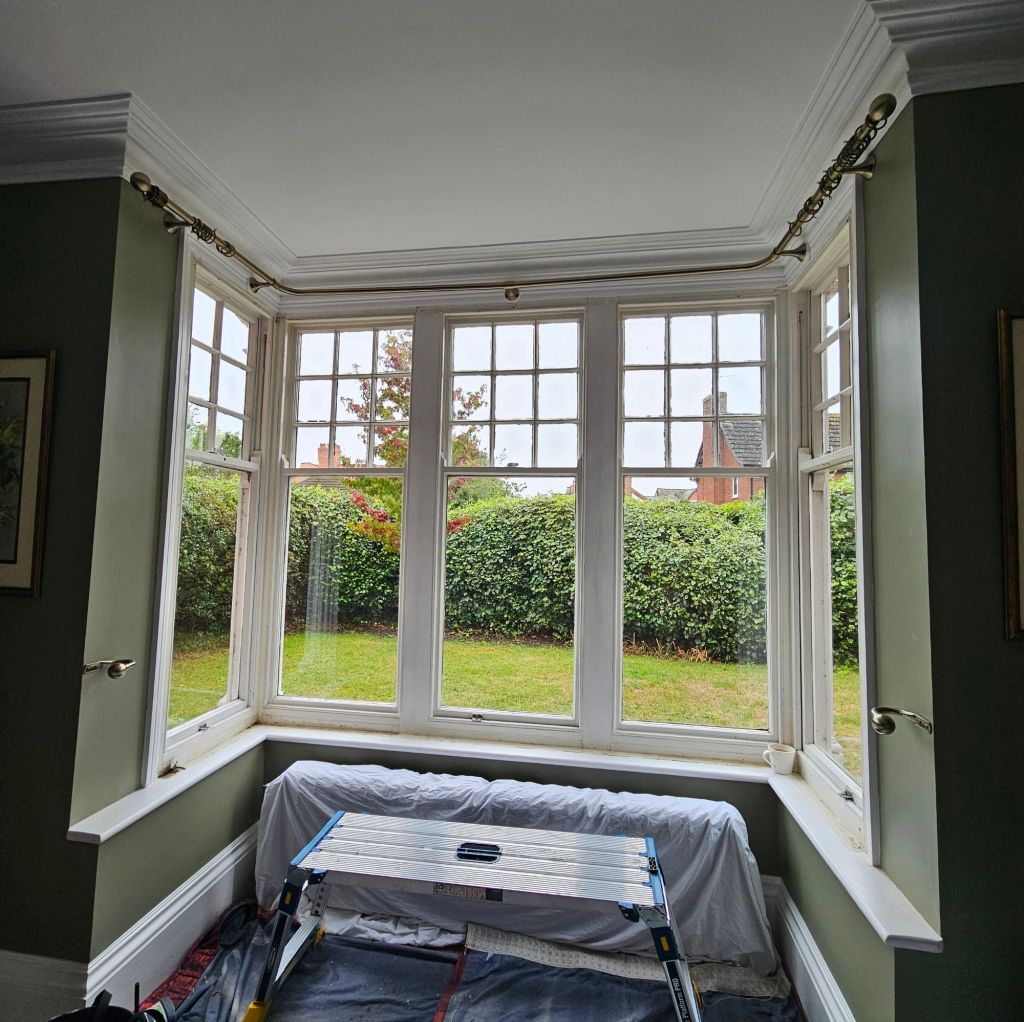
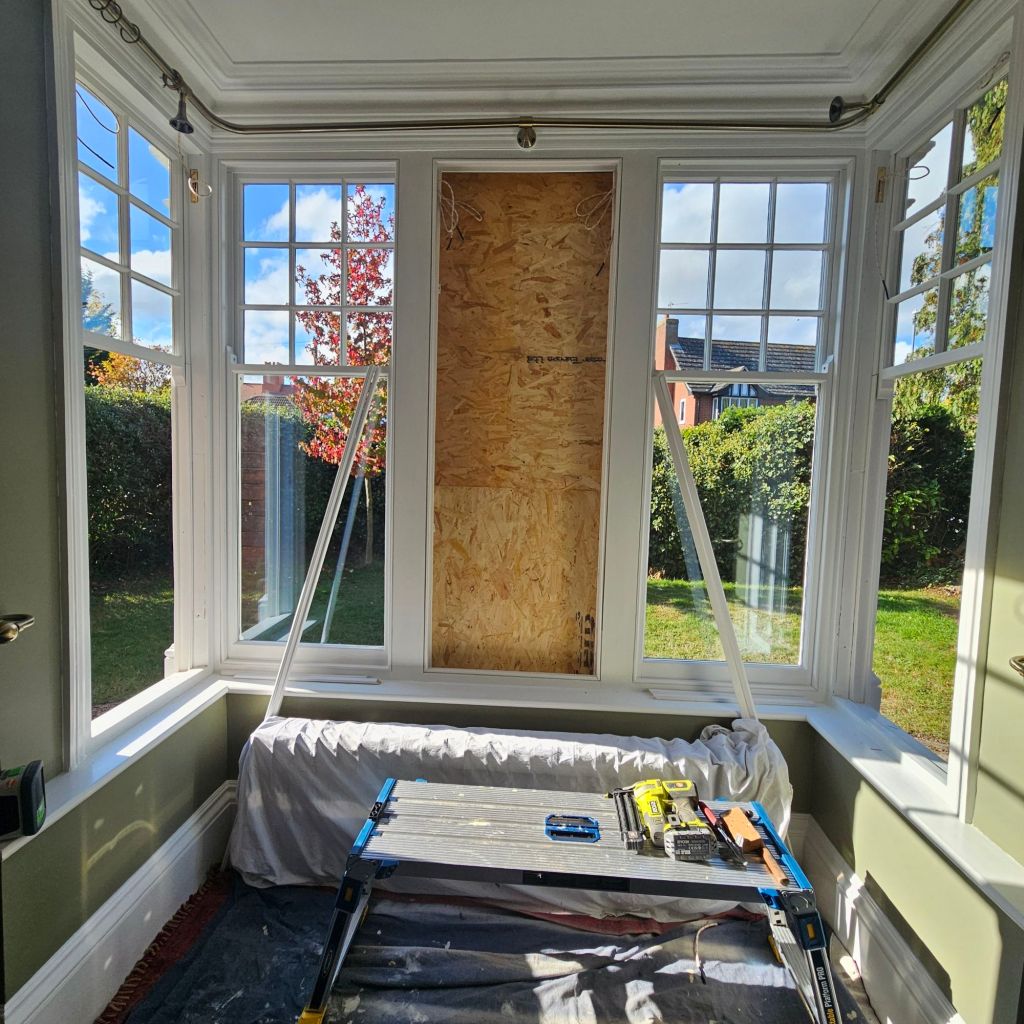
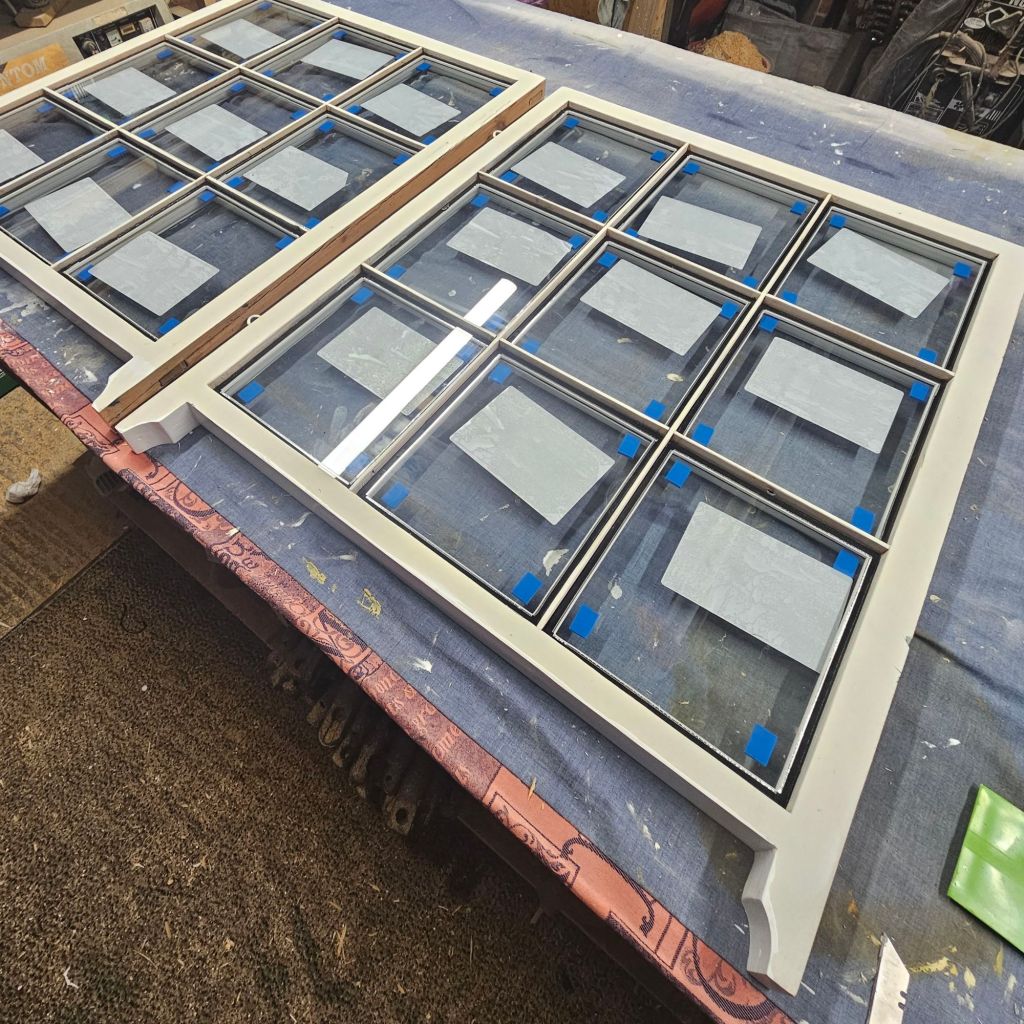
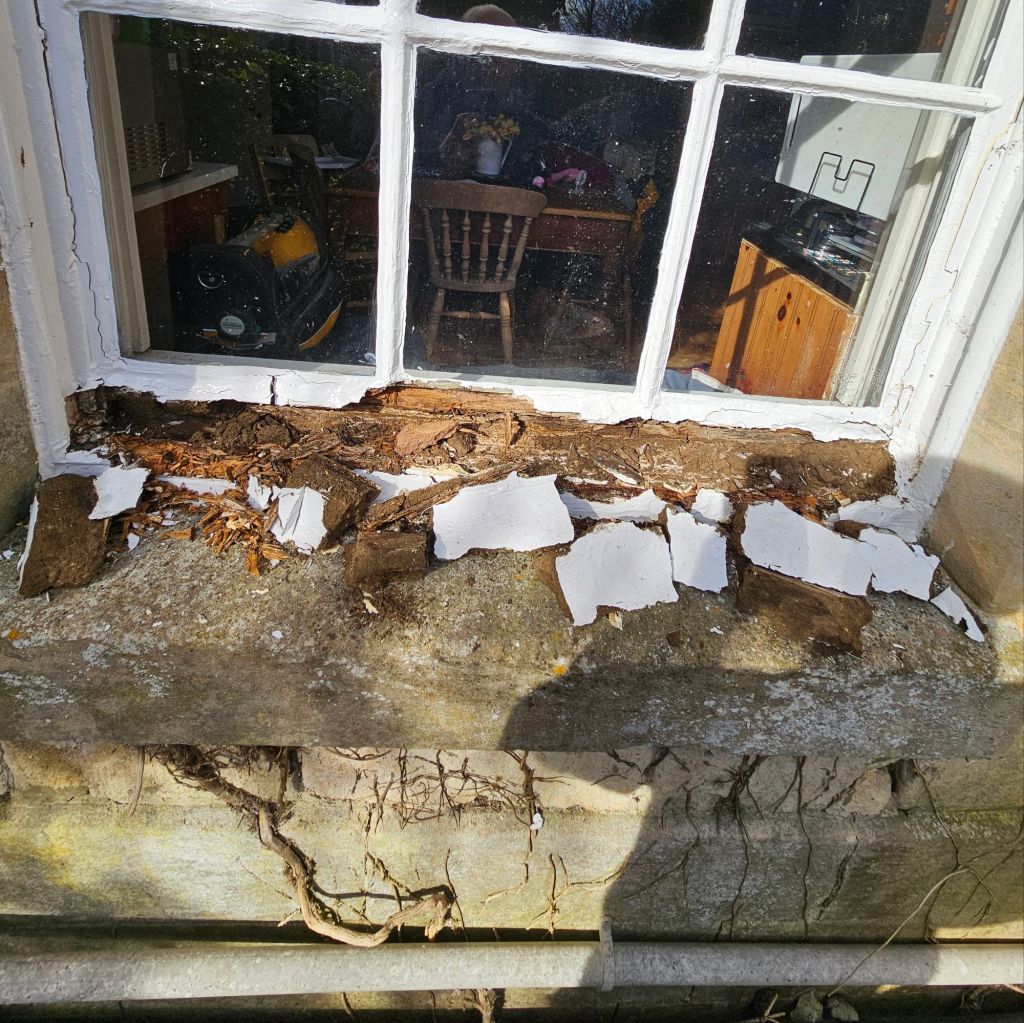
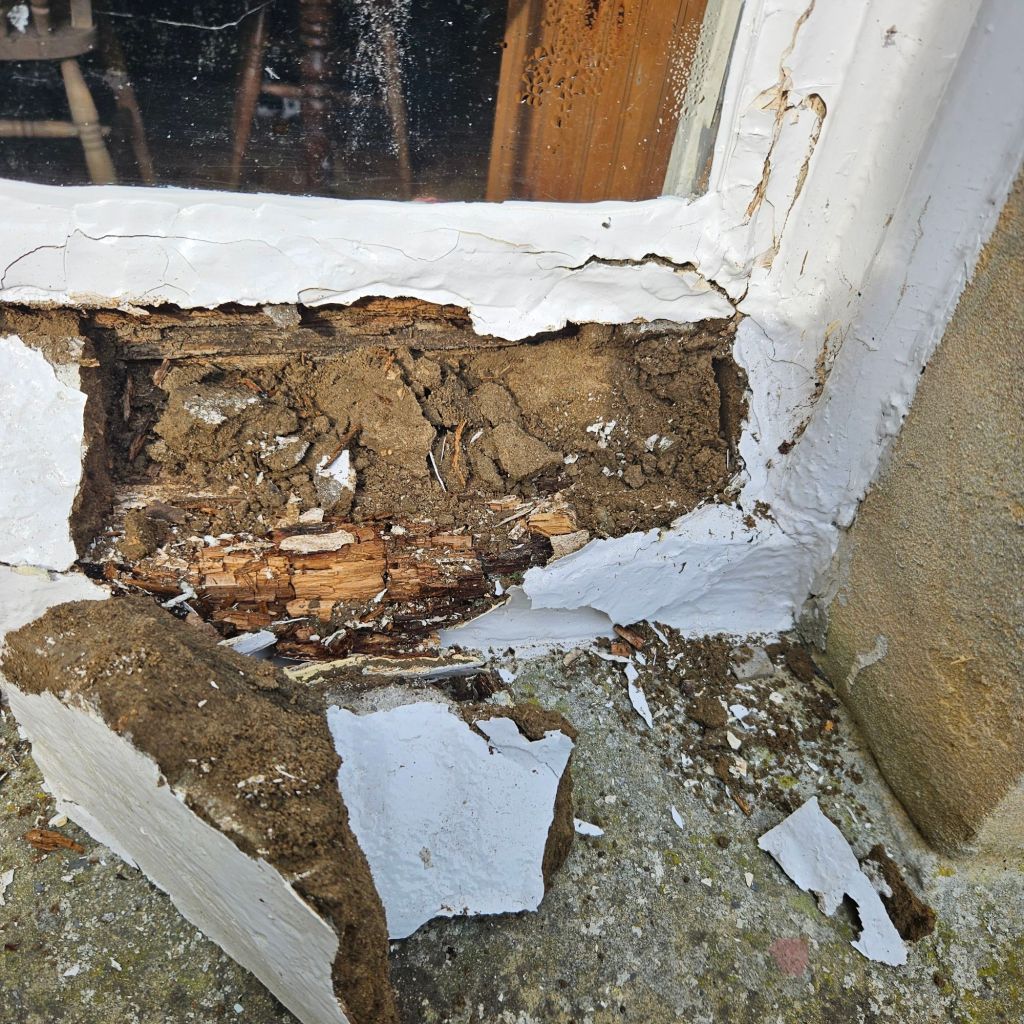
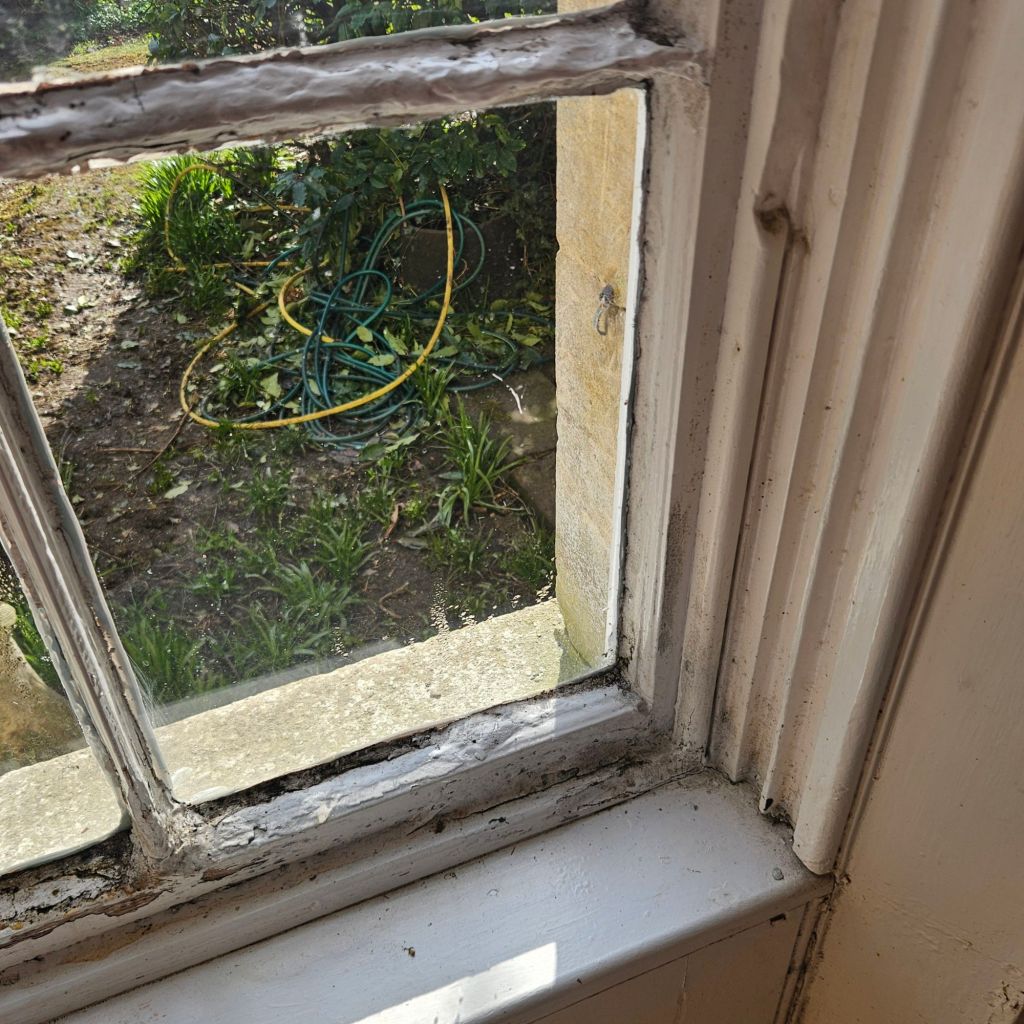
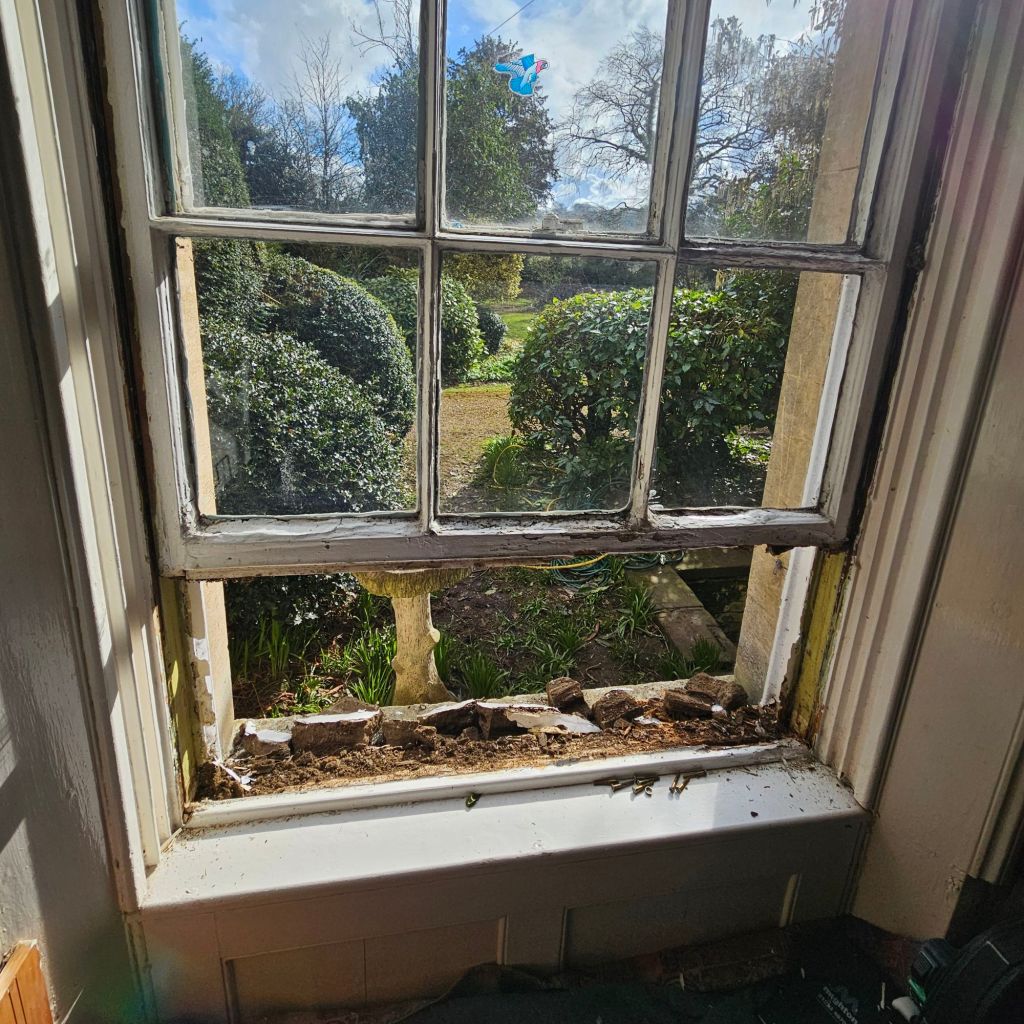
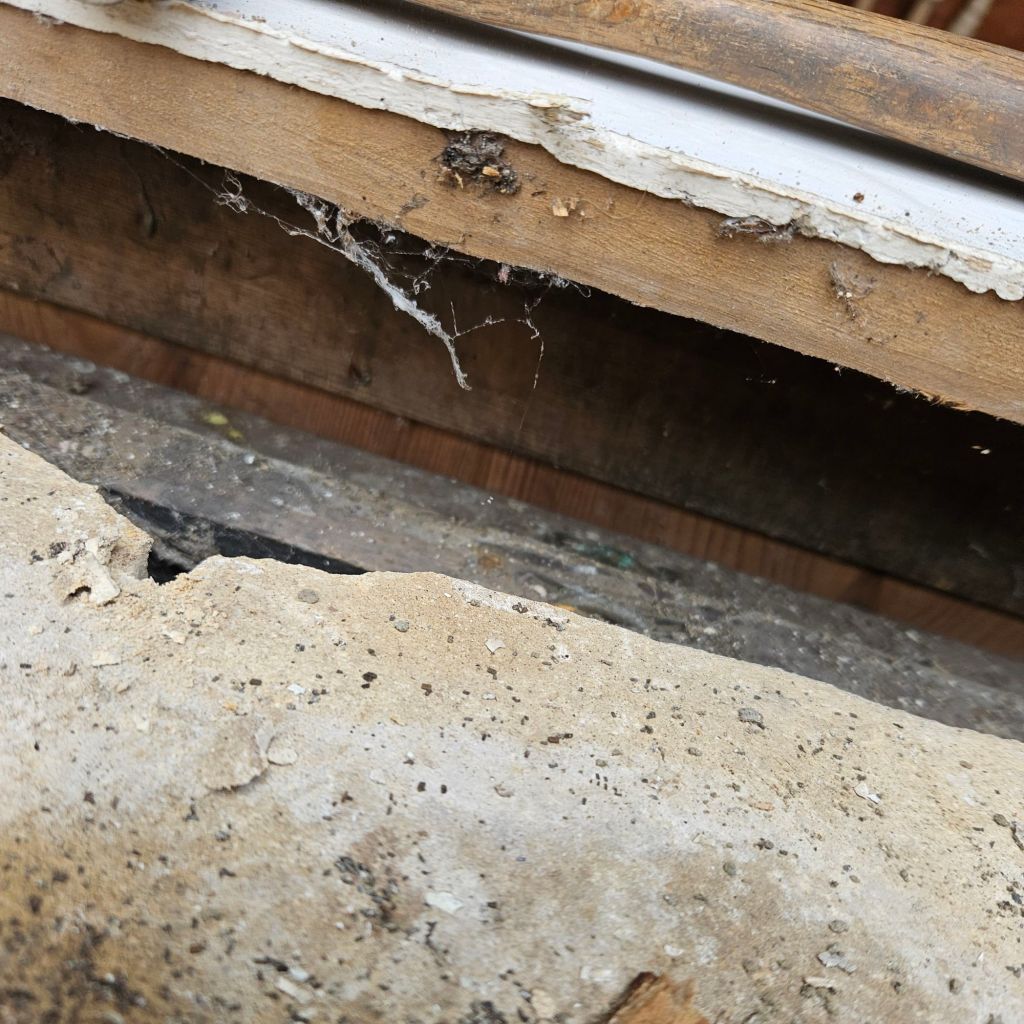
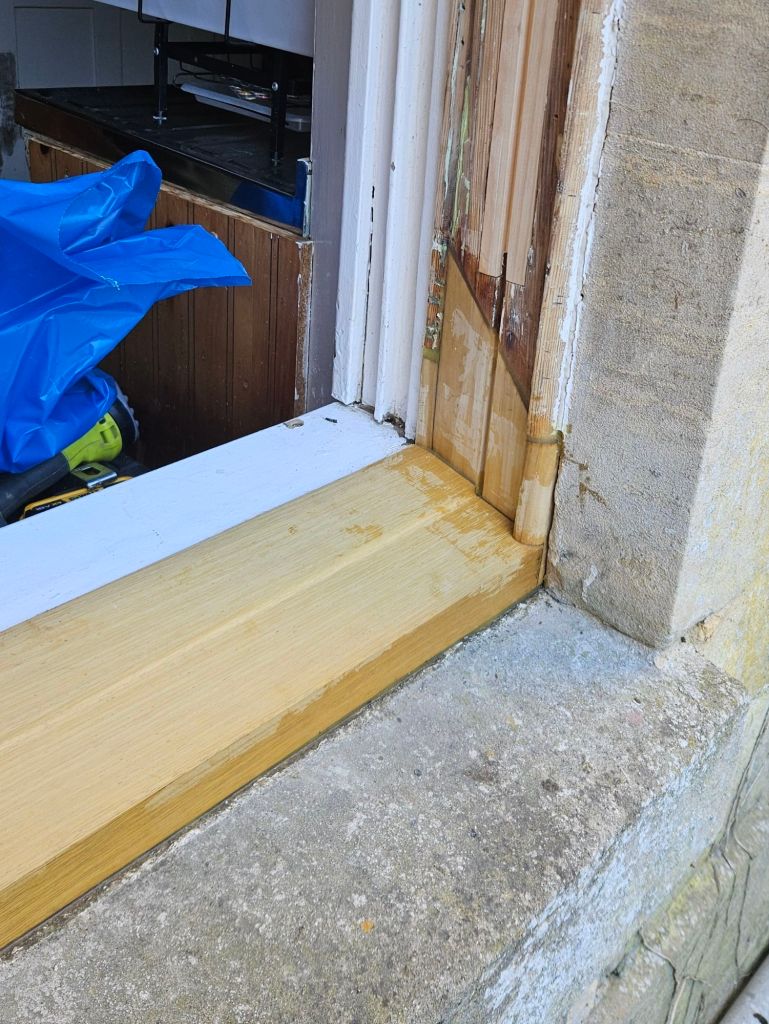
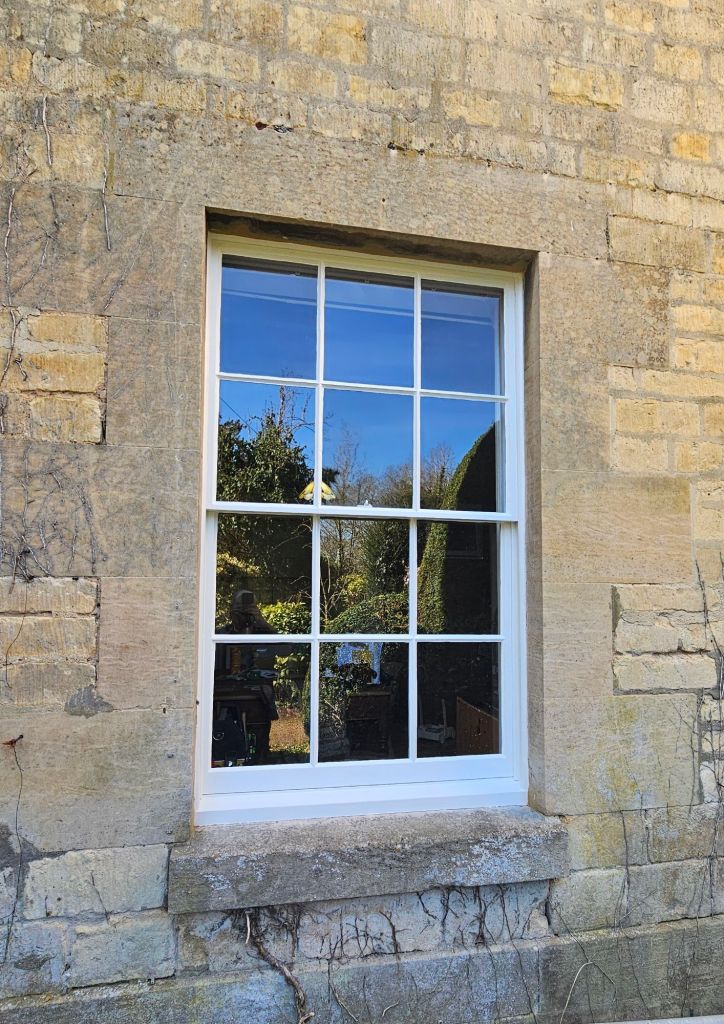
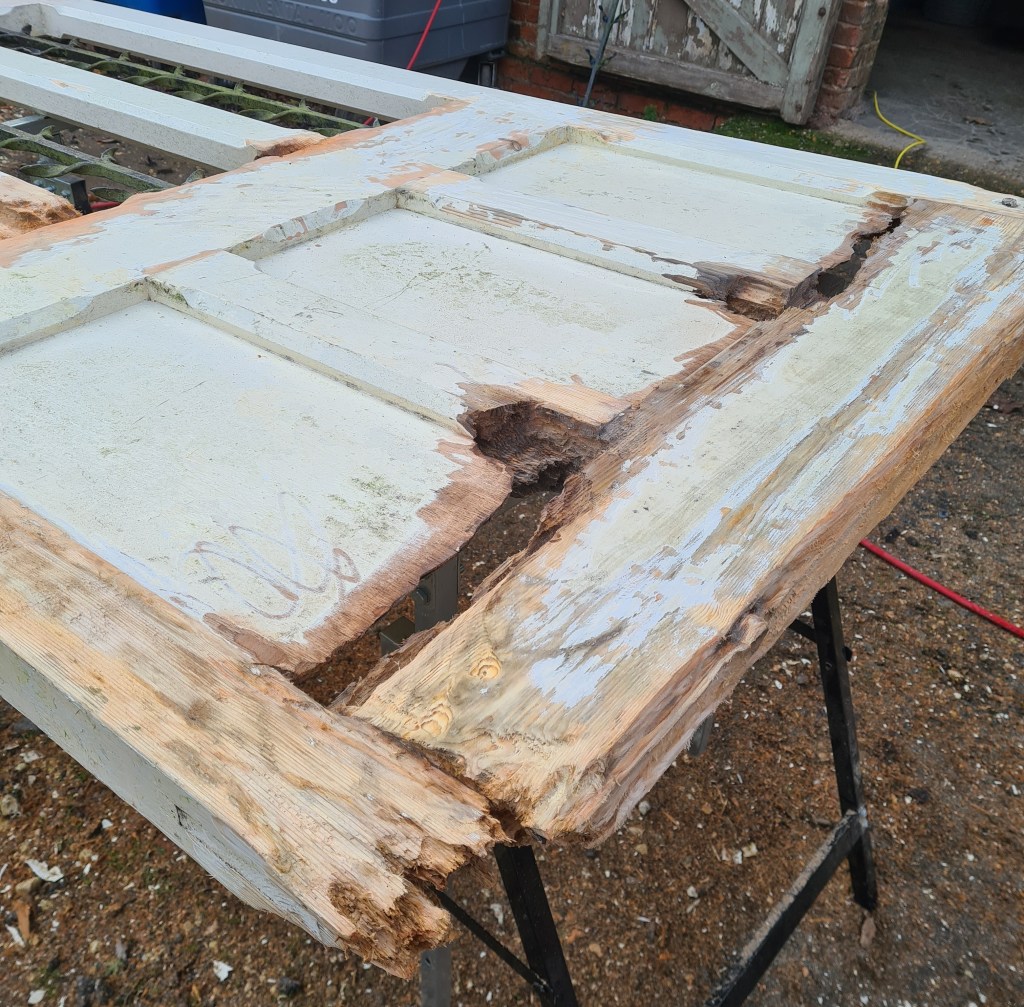
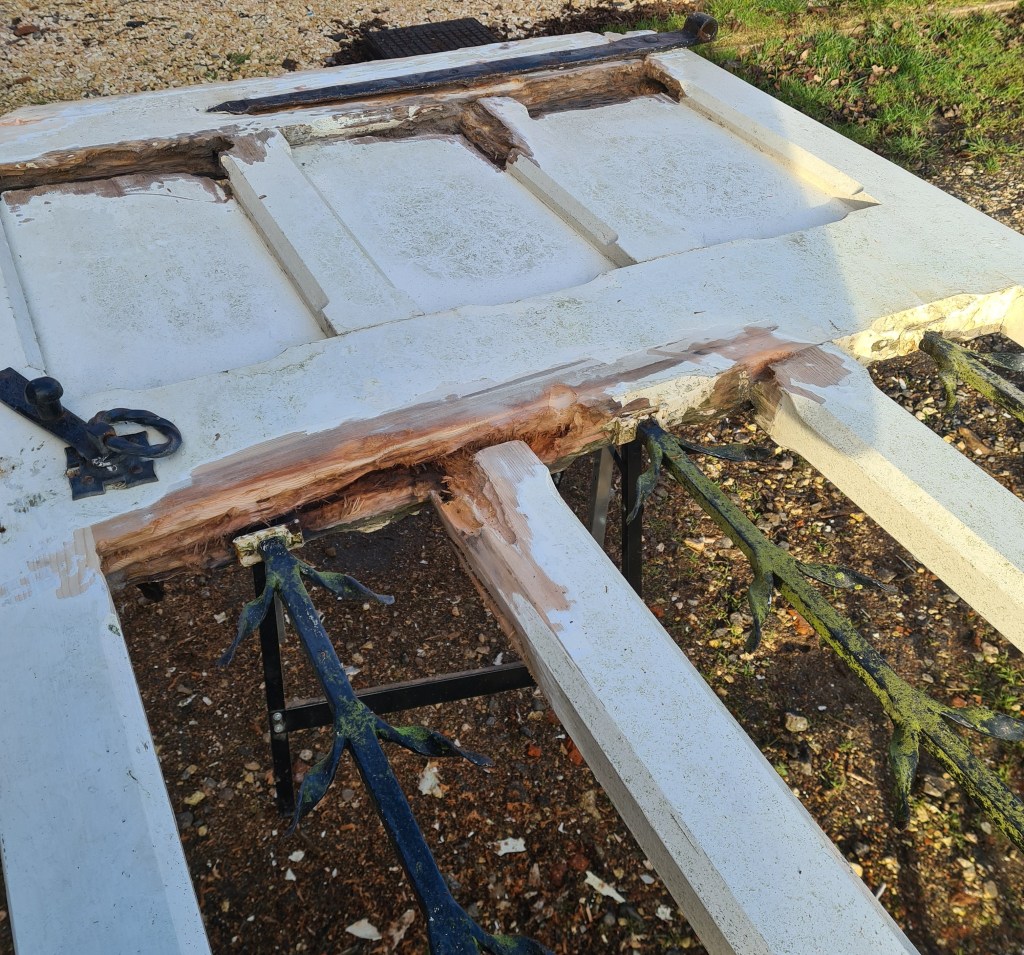
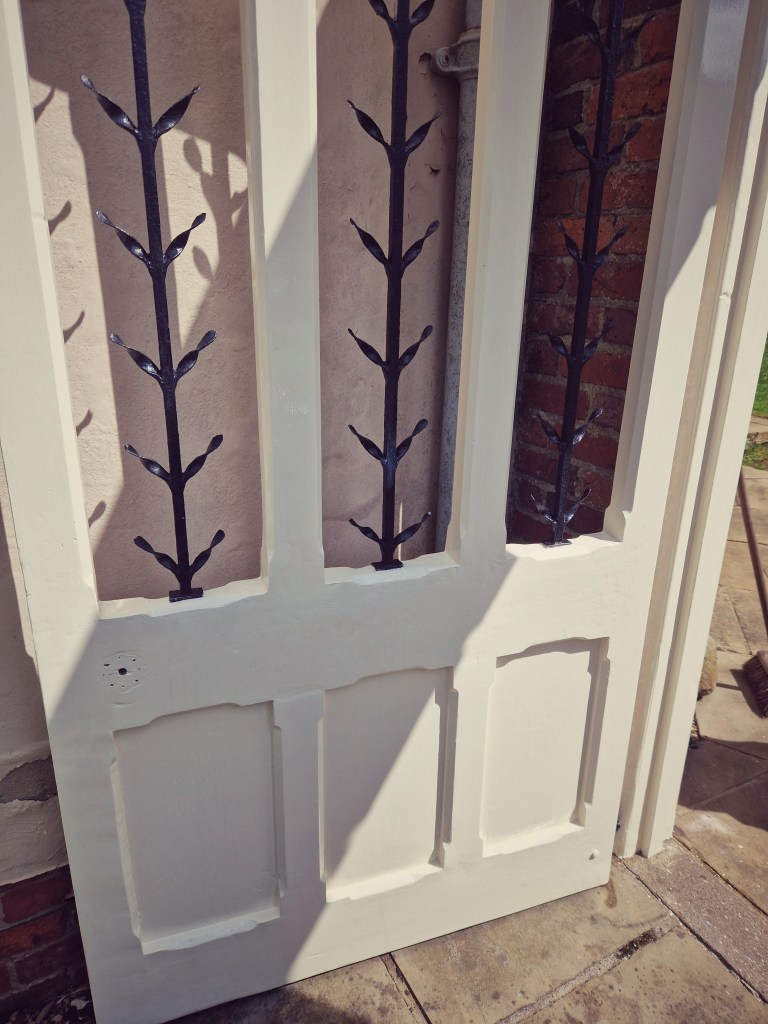
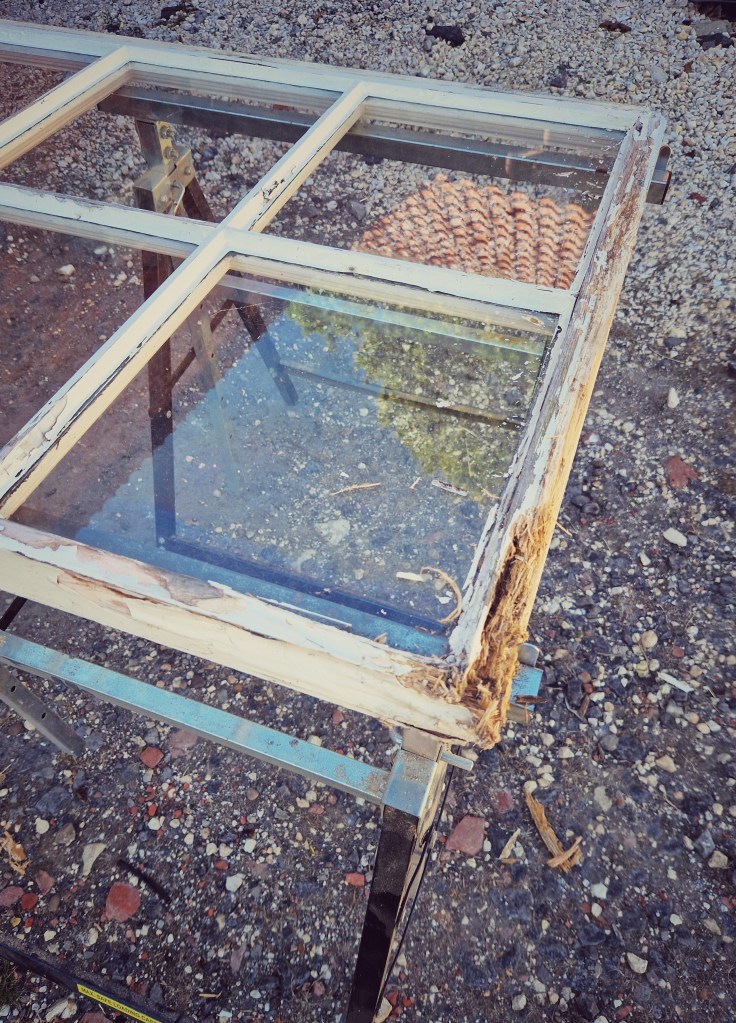
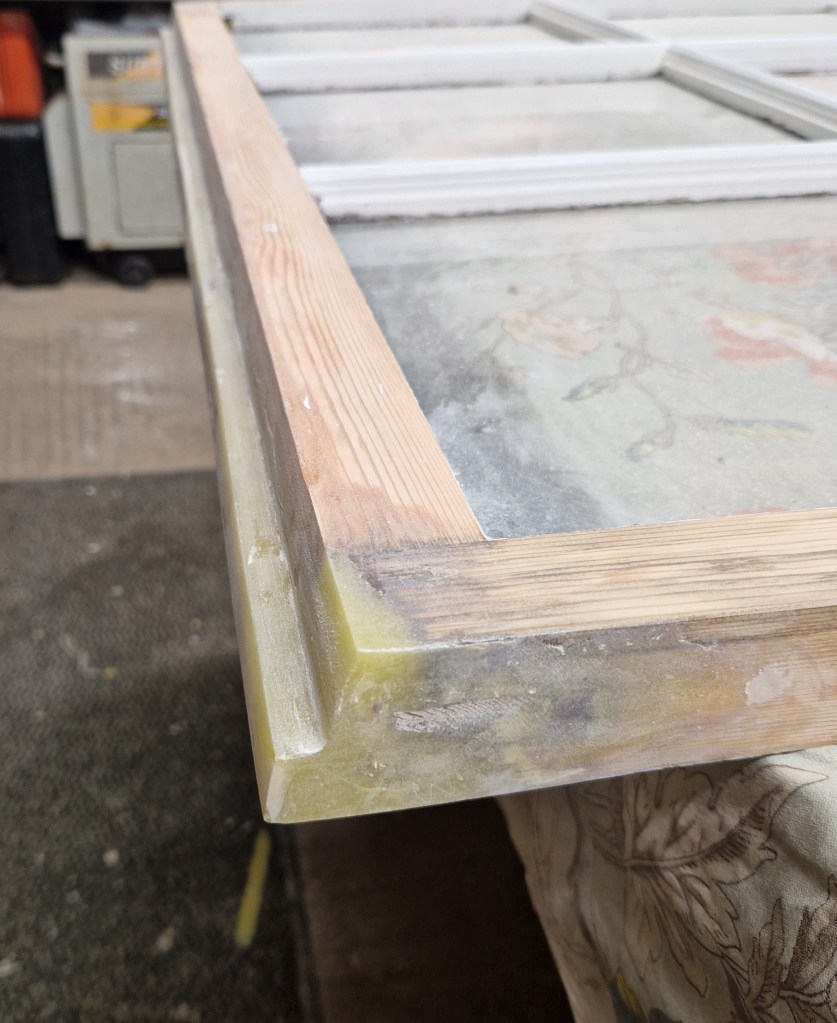
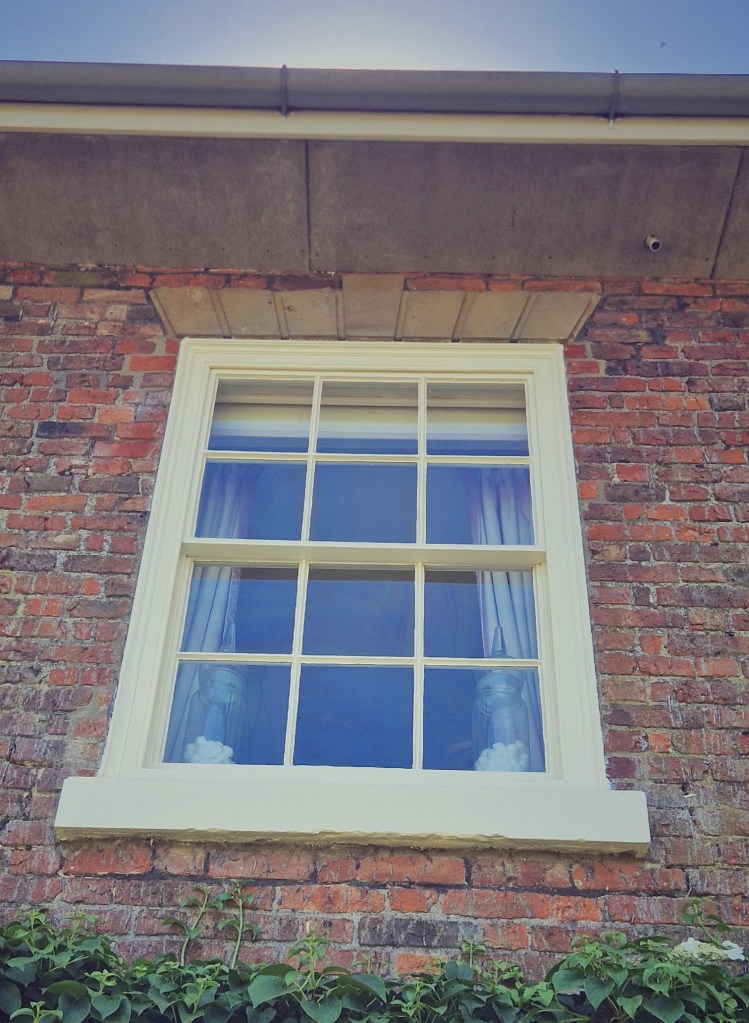
While repairing a sash window in Gosberton, I found a name written in pencil on the timber.
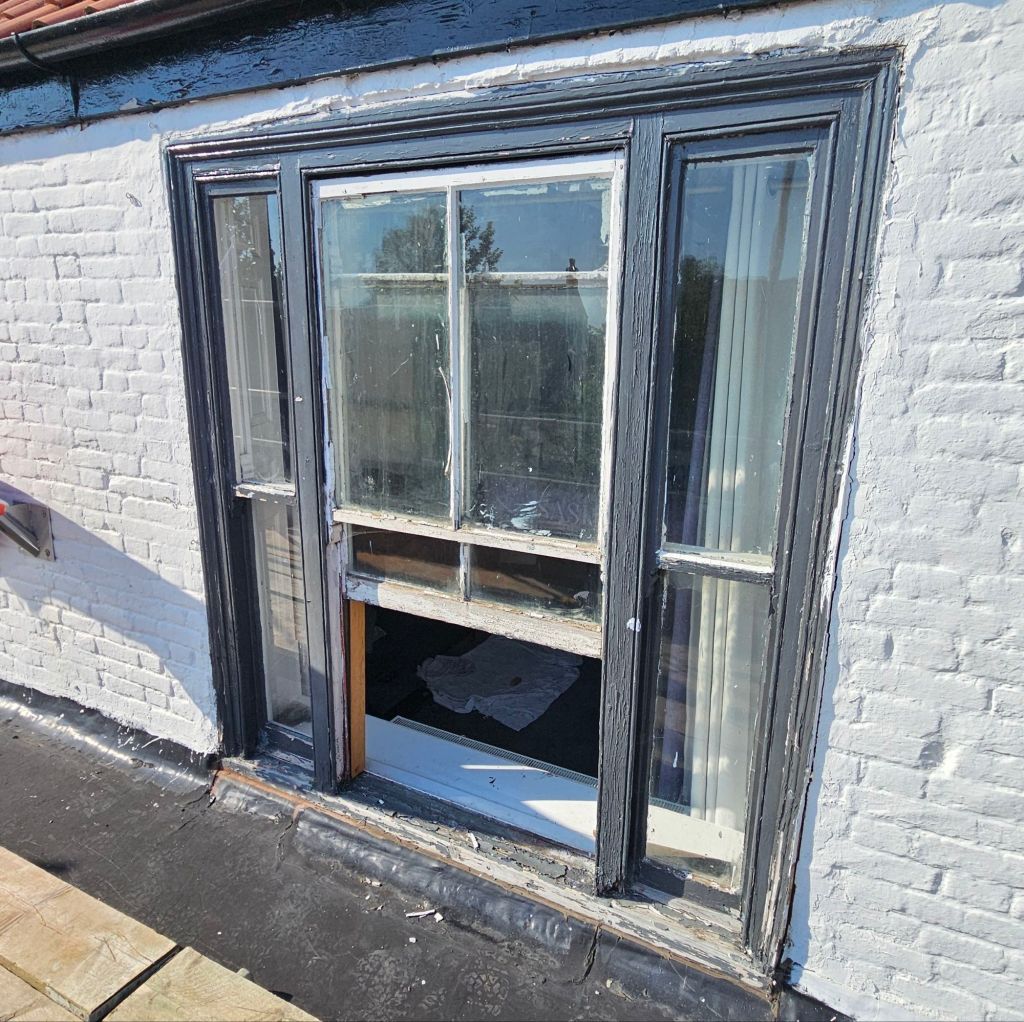
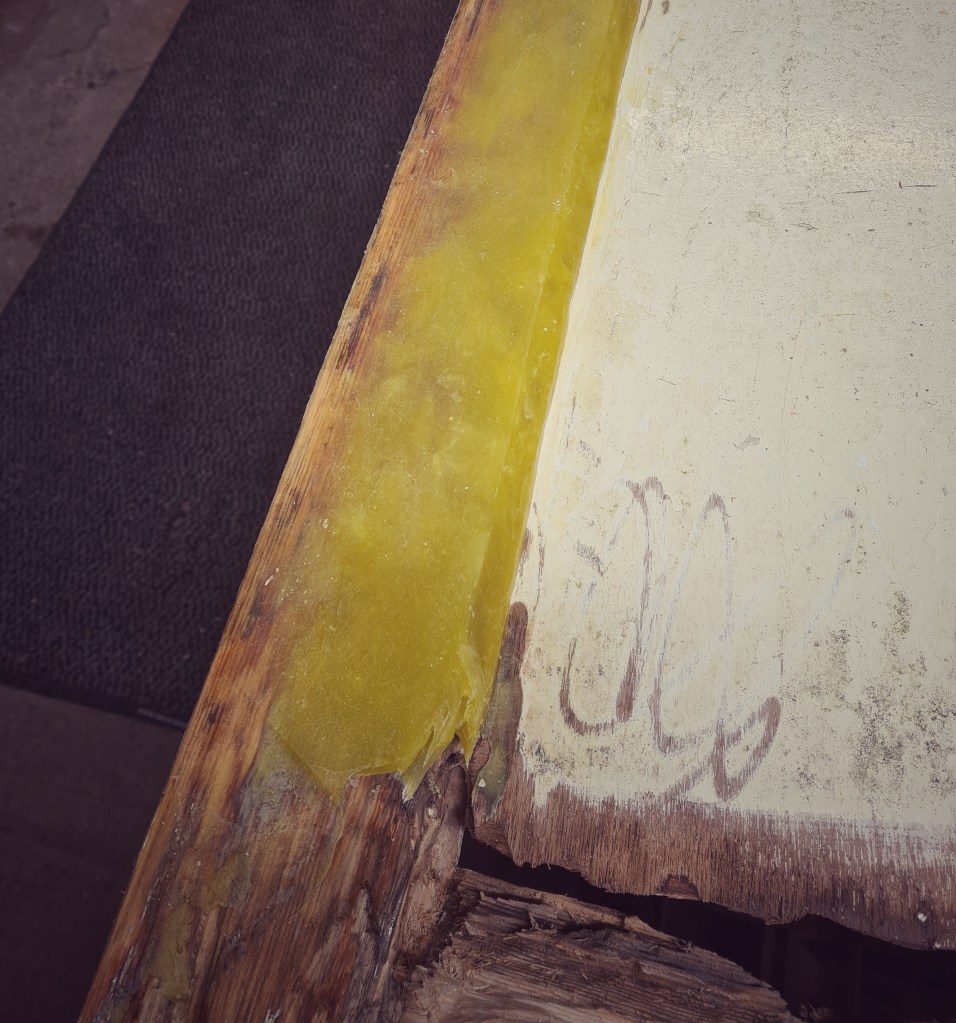
Hidden inside the pocket box, written lightly in pencil on the timber, was a name.
J. W. Braybrooks, joiner.
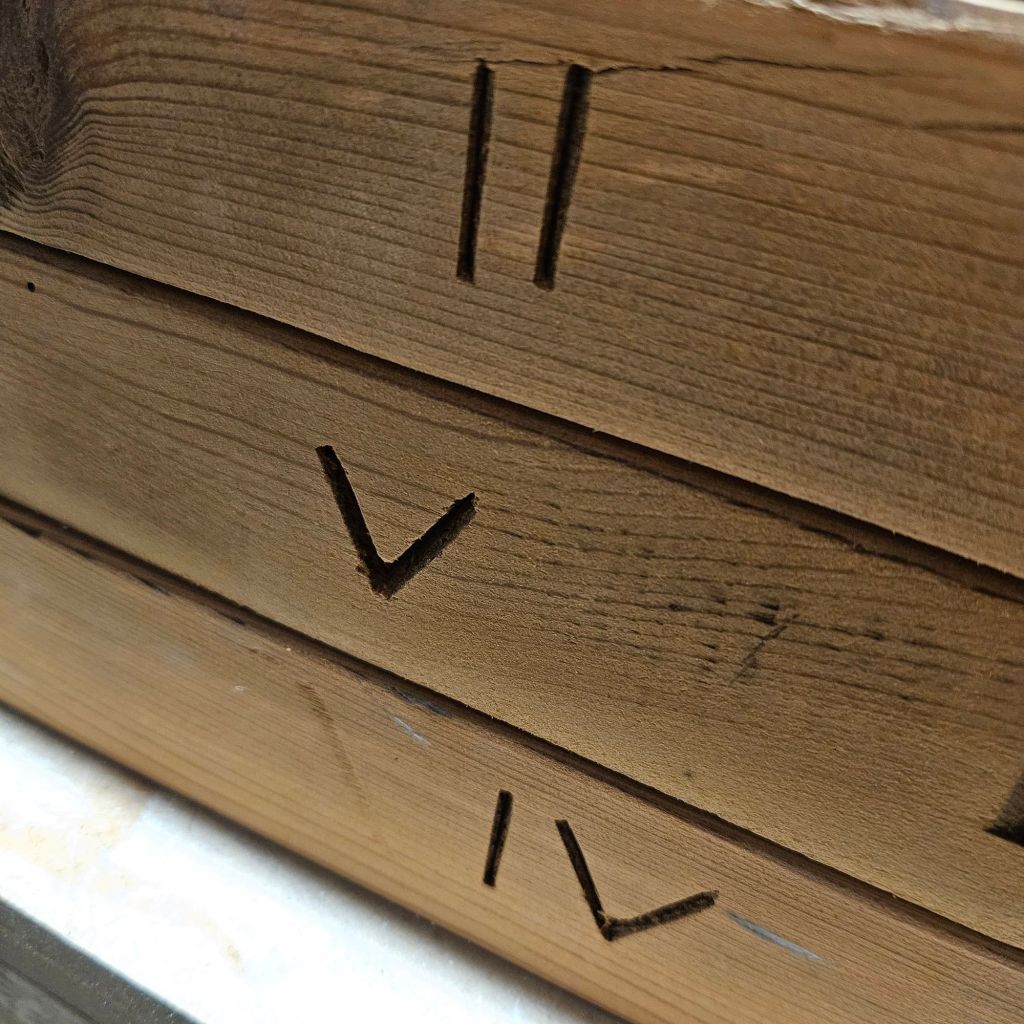
It is not unusual to find marks like this. Many joiners left their names, dates, or initials inside their work, tucked away where only another tradesman would ever see them.
What stopped me this time was not the mark itself, but the handwriting.
It was neat, confident, and careful. The sort of writing that comes from someone used to precision, patience, and taking pride in small details. The kind of hand that measures twice, cuts once.
It was not visible once the window was assembled. It was never meant for the client. It was left quietly, out of sight, where only another joiner would ever find it.
Meeting a craftsman across time
A bit of digging led me to John William Braybrooks, a Gosberton joiner, carpenter and wheelwright whose family trade stretched back into the late nineteenth century.
John wrote a remarkable article called Gosberton Recollections in the 1980s, published in Lincolnshire Past & Present, describing his working life and the craft he grew up in. Reading his words while holding the pocket box door felt oddly familiar. The same care I saw in his handwriting was there in his sentences too.
The workshop John grew up in
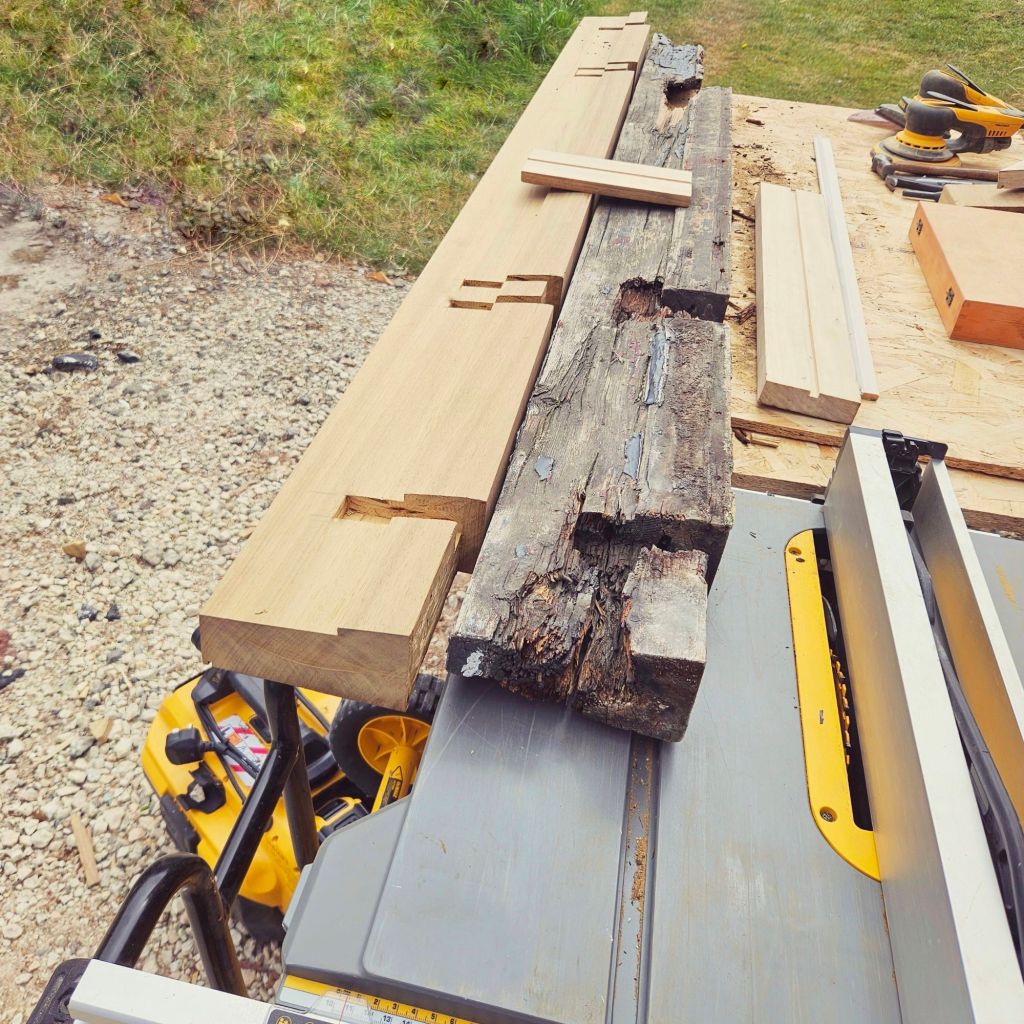
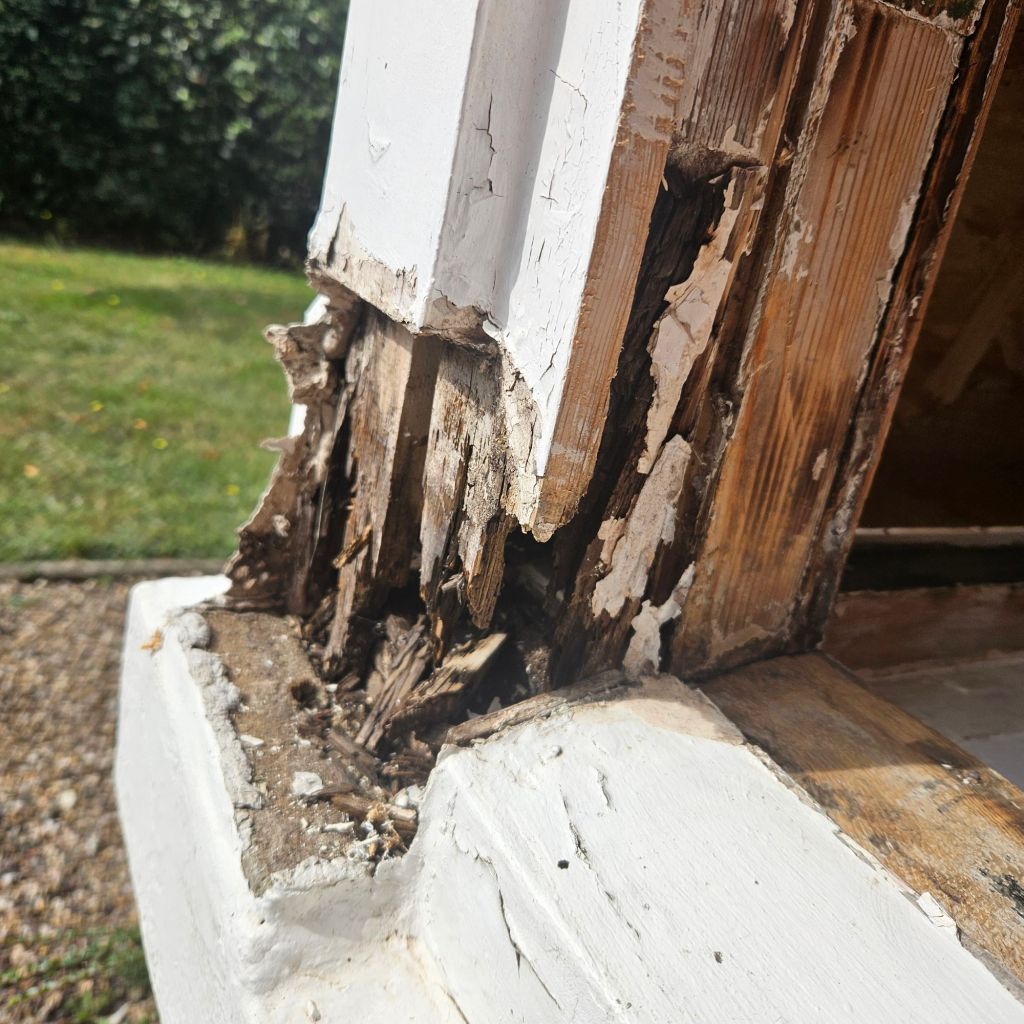
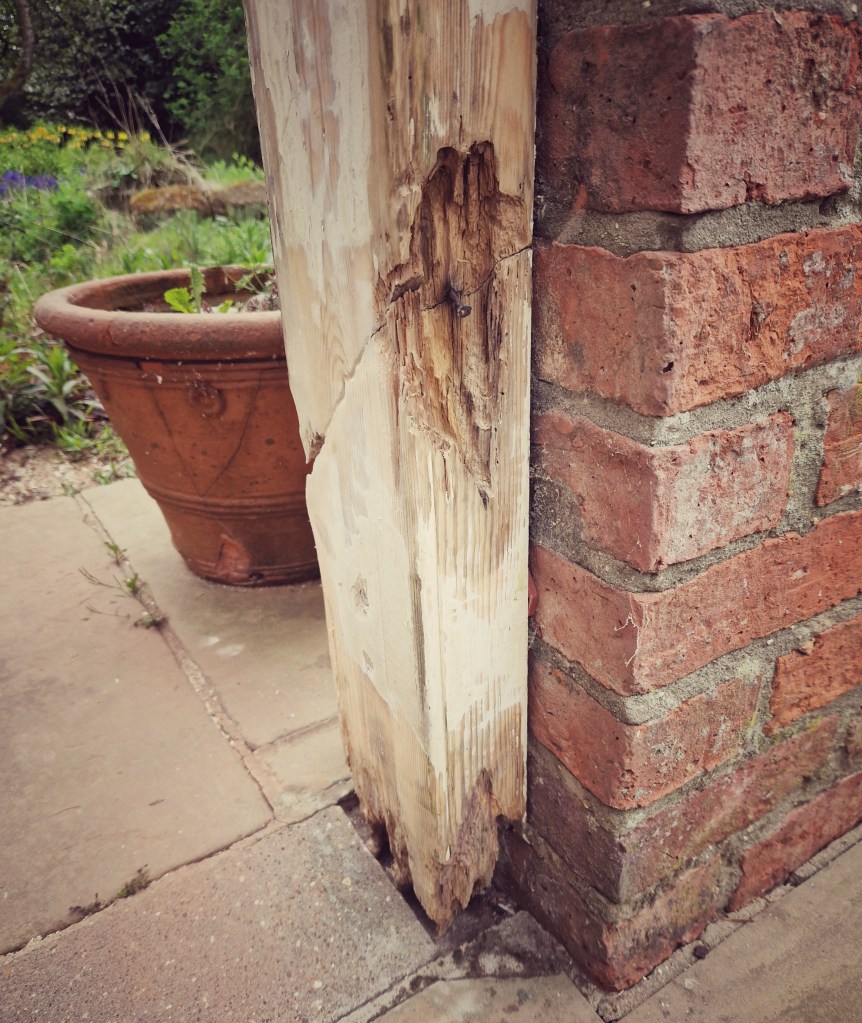
John’s workshop was not a romanticised place. It was hard, physical, skilled work.
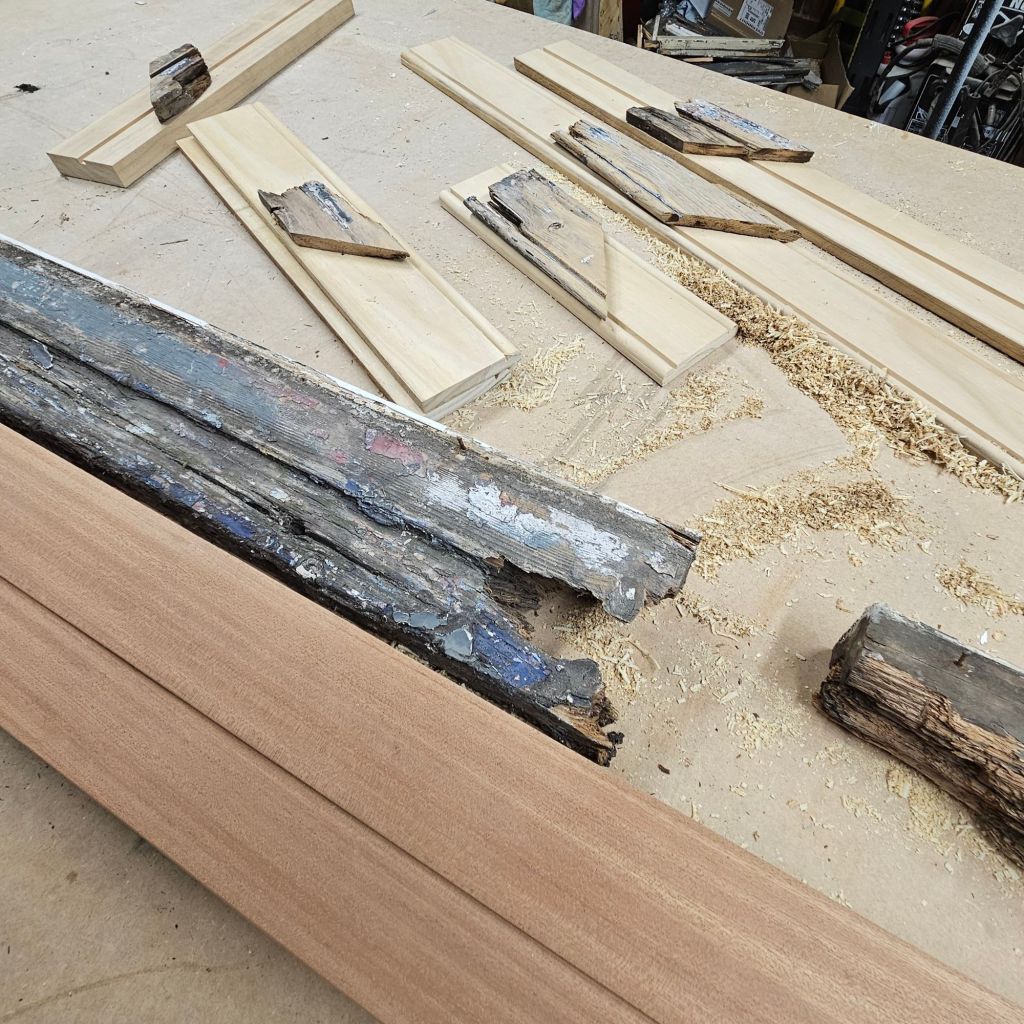
Oak, ash and elm were cut, seasoned and worked by hand. Timber was stored for years before being used. Wheels were built spoke by spoke. Repairs were valued more highly than new work, because fixing something properly took more judgement than making it from scratch.
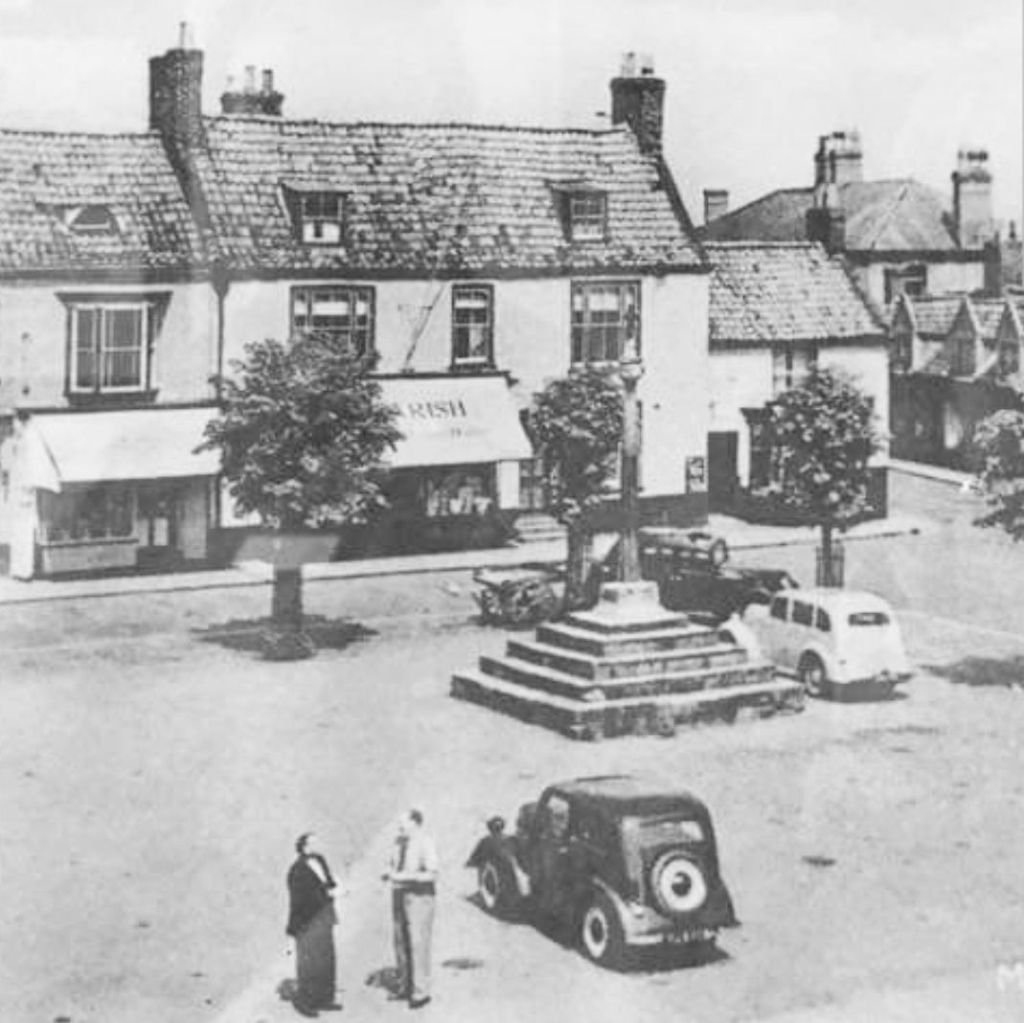
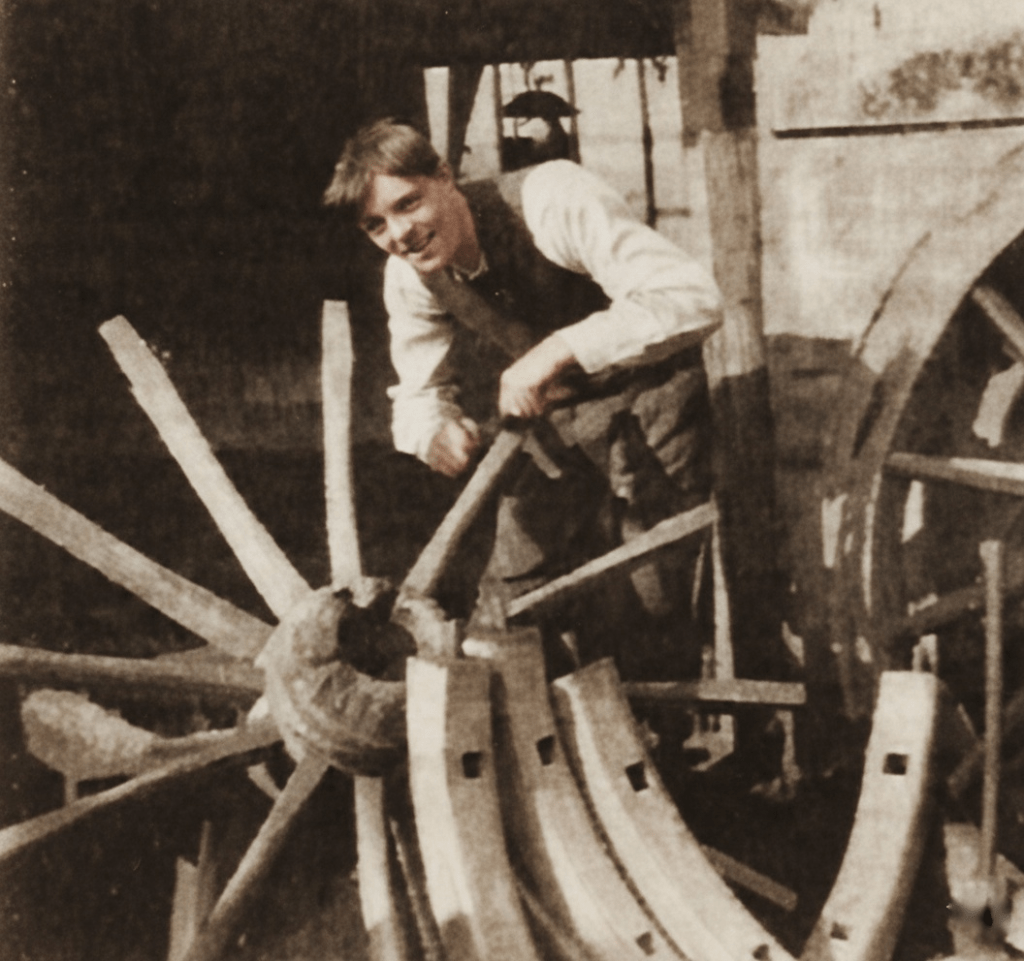
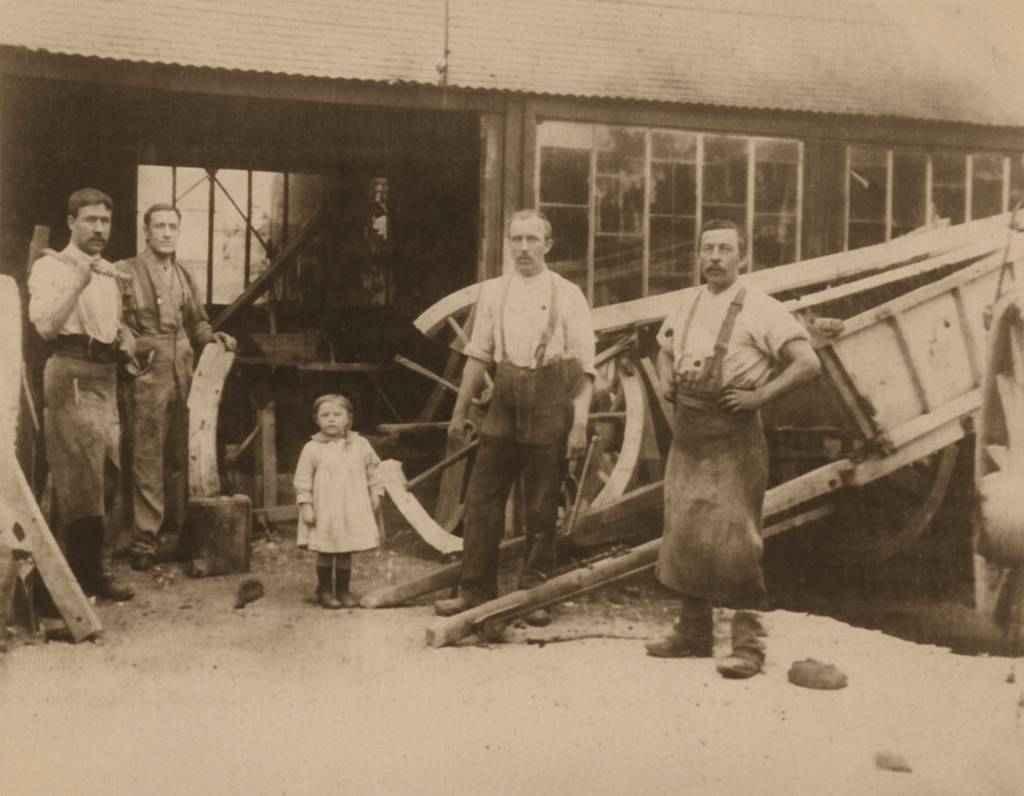
In the photographs that survive, you see men in aprons standing square to the camera, tools in hand, timber all around them. One image shows John himself in the 1940s, assembling a wooden wheel.
Another shows the workshop in 1911, with John as a small child standing among grown men and heavy timber. It tells you everything about how trades were passed on. You learned by being there.
Pride, quietly placed
What struck me most in John’s writing was his attitude to workmanship. There is no bravado. Just responsibility.
He writes about knowing that poor work would come back to you. About repairs being harder than new work. About taking time because timber demands it. Seen through that lens, the pencil mark inside the sash makes perfect sense.
It was not a signature for praise. It was a statement of accountability.
I did this. I stand by it.
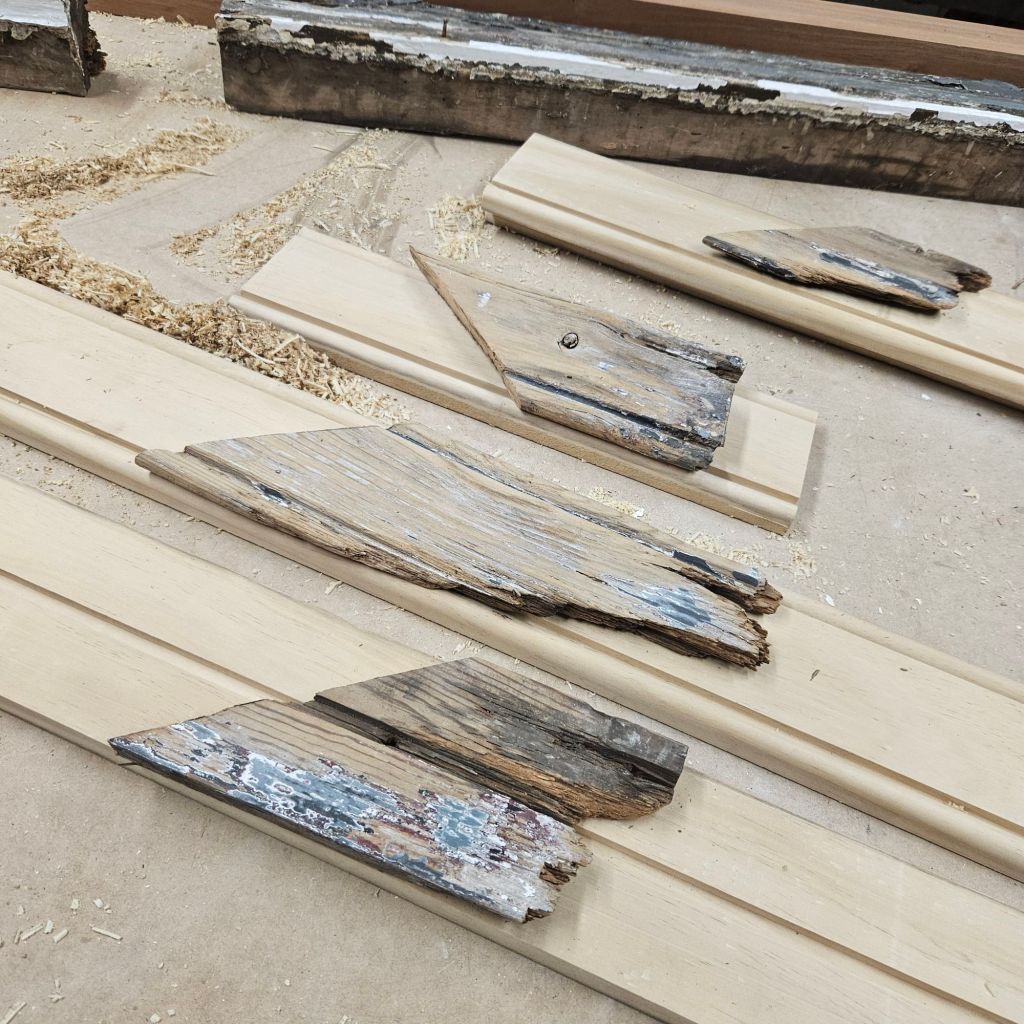
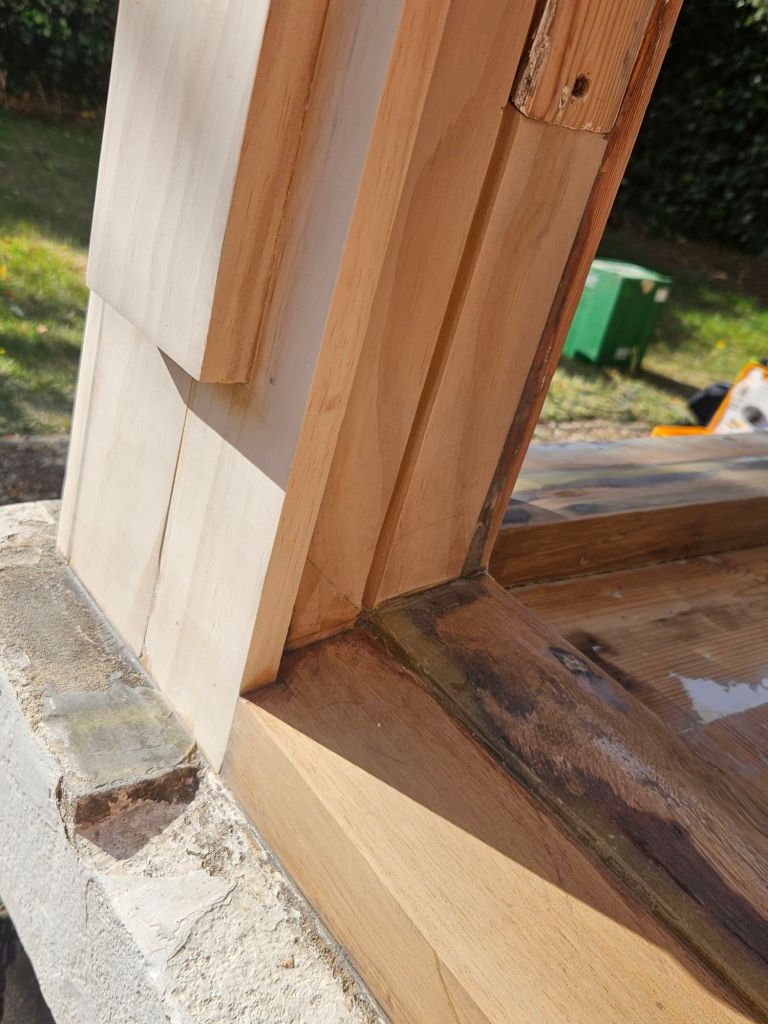
In his article, John said he saw repair as the true test of a craftsman. Making something new gives you control, but repair demands judgement. You have to read another person’s work, understand their intentions, and decide what genuinely needs changing and what deserves to remain. He believed good repair required restraint and responsibility, not speed. That resonated with me deeply when I read it, because he is absolutely right. I often say that once I start taking a window apart, it begins to talk to me. In this case, almost literally.
What lasts
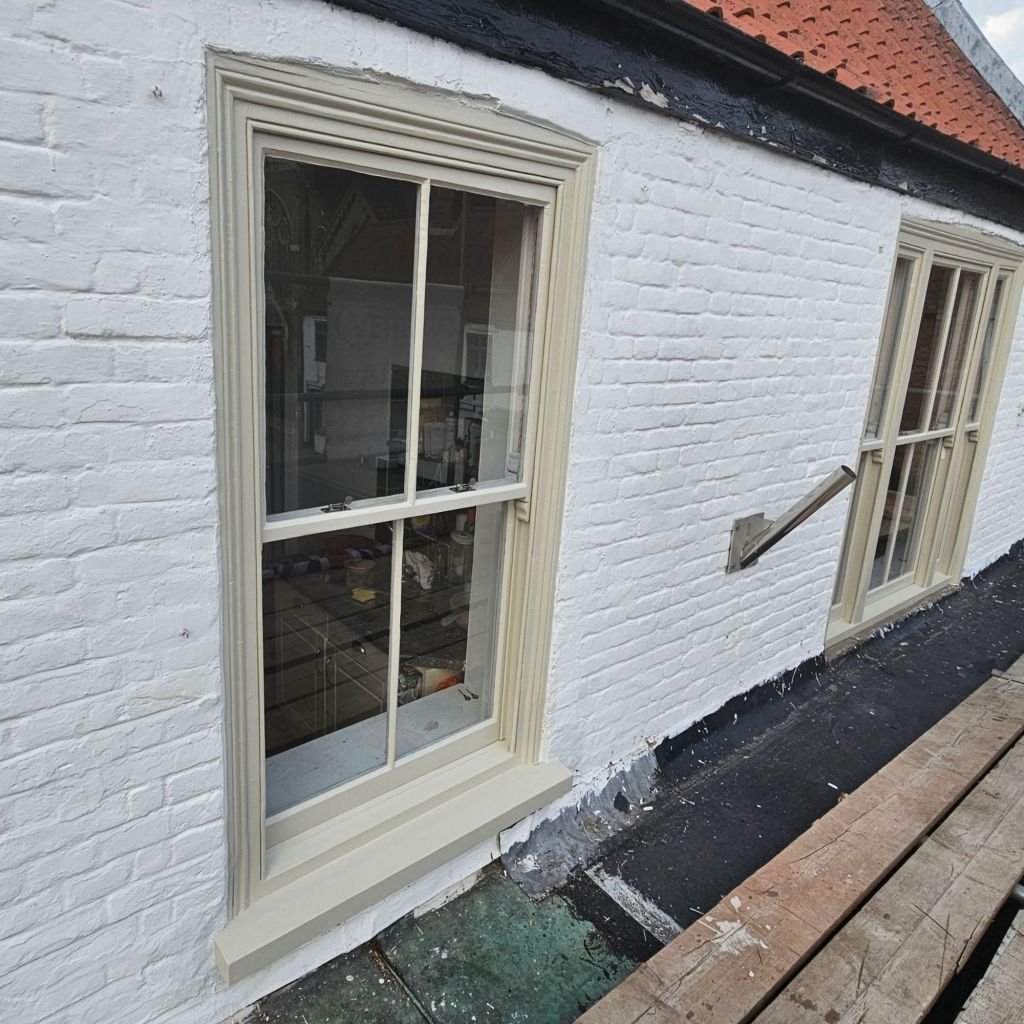
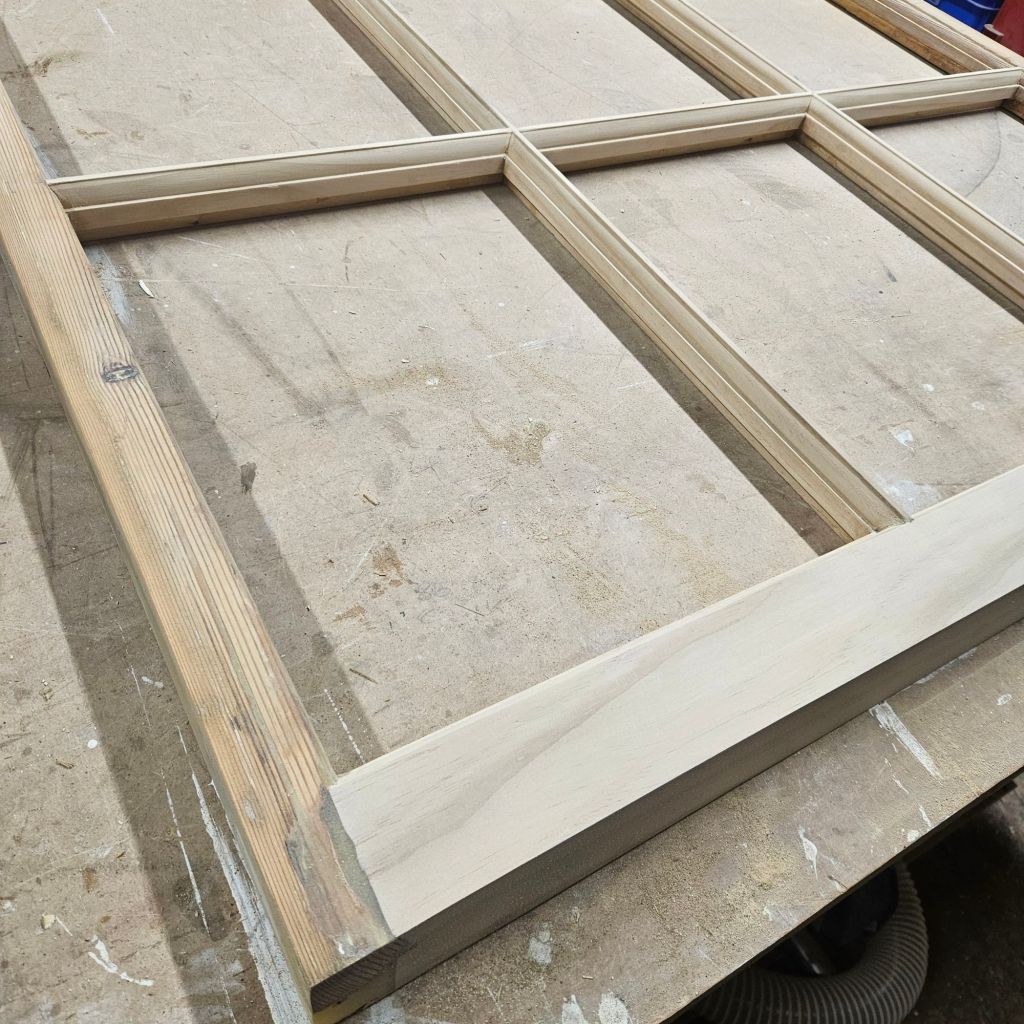
That sash window has survived long enough for another joiner to dismantle it carefully, repair it, and notice the man who made it in the first place. That matters.
In a time when so much building work is rushed or replaced rather than repaired, finding that mark was a reminder that good joinery lasts. Not because it is fashionable, but because it is thought through, well executed, and respectful of materials.
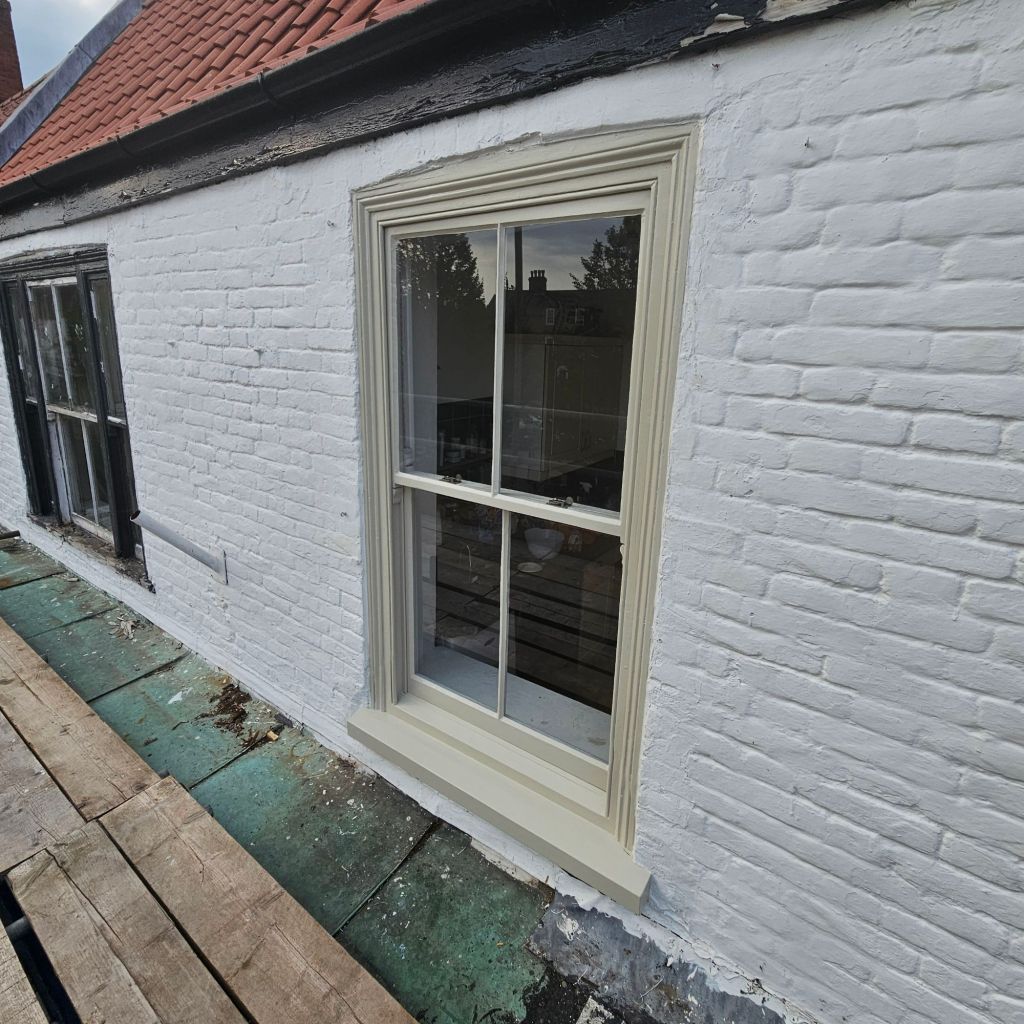
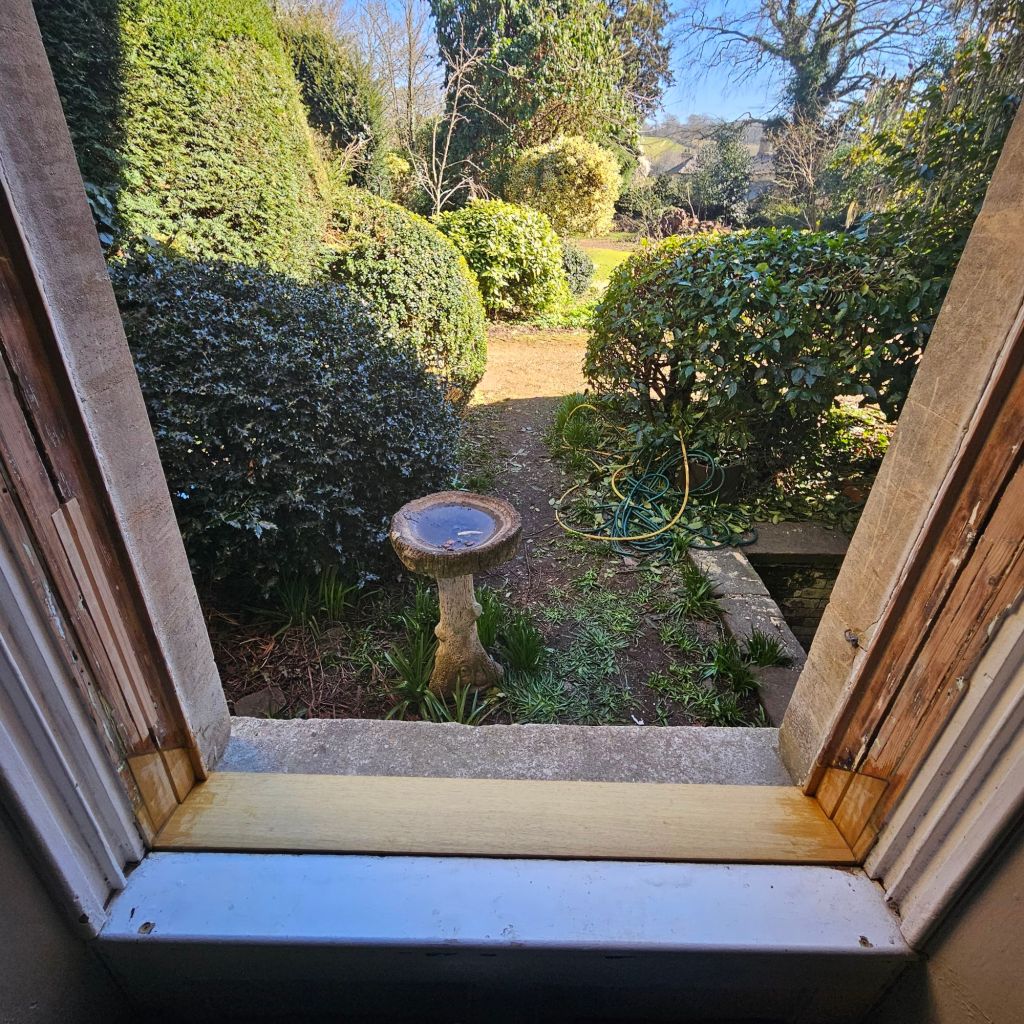
Standing in Gosberton, working on a window made by someone who worked in the same village generations before, brought that home more strongly than any book ever could.
Leaving things better than you found them
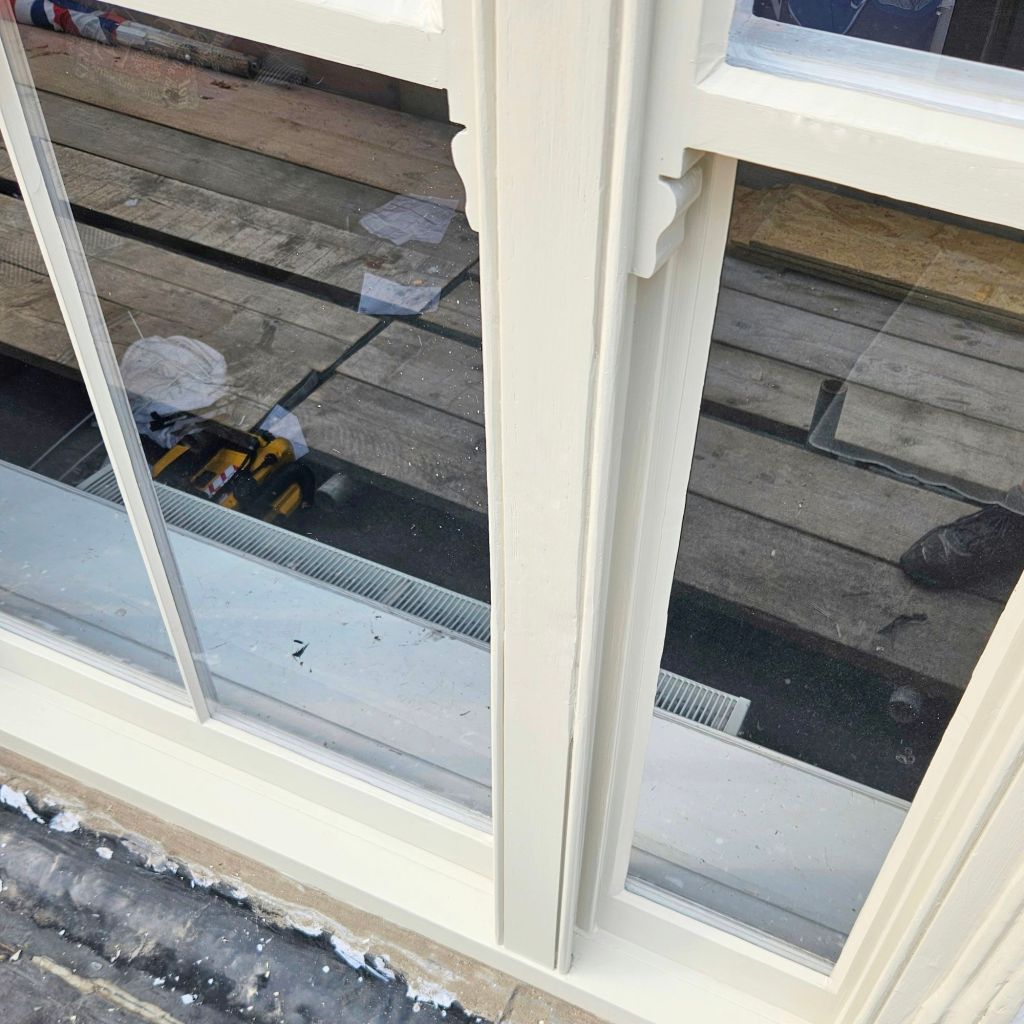
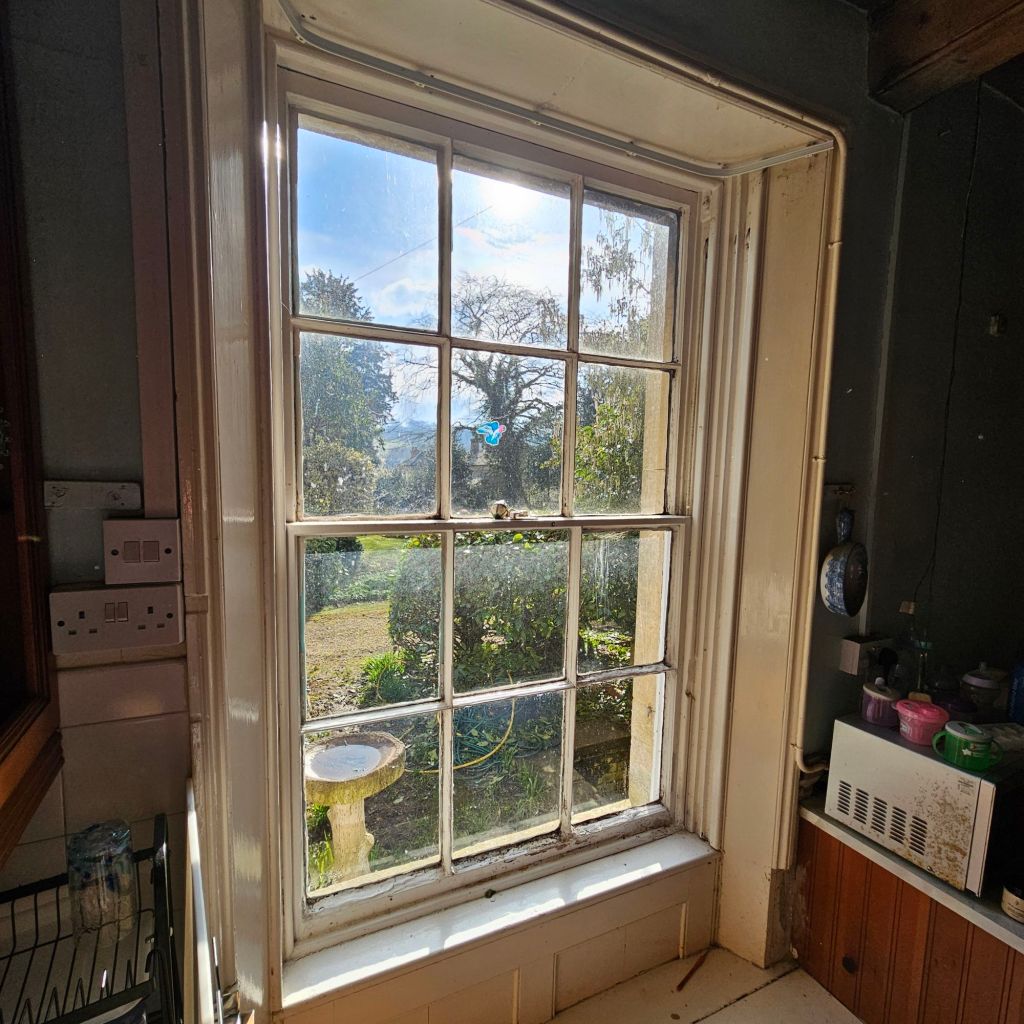
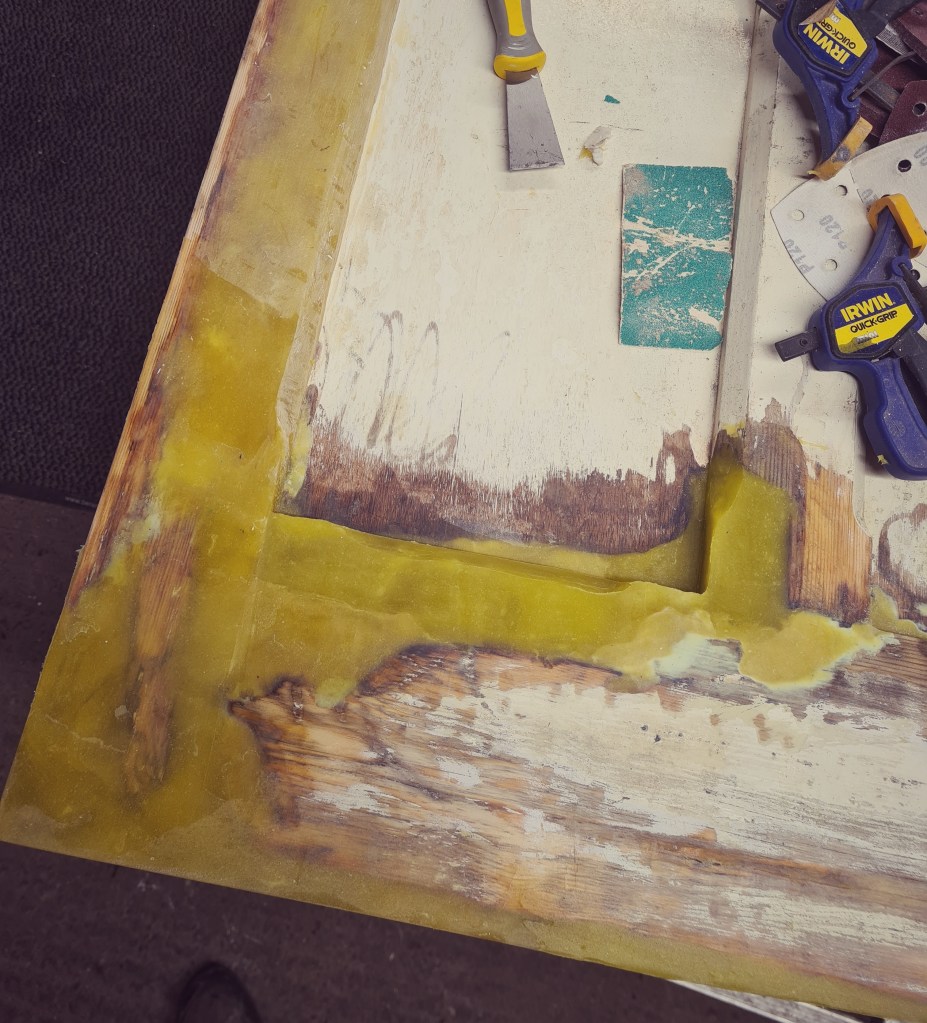
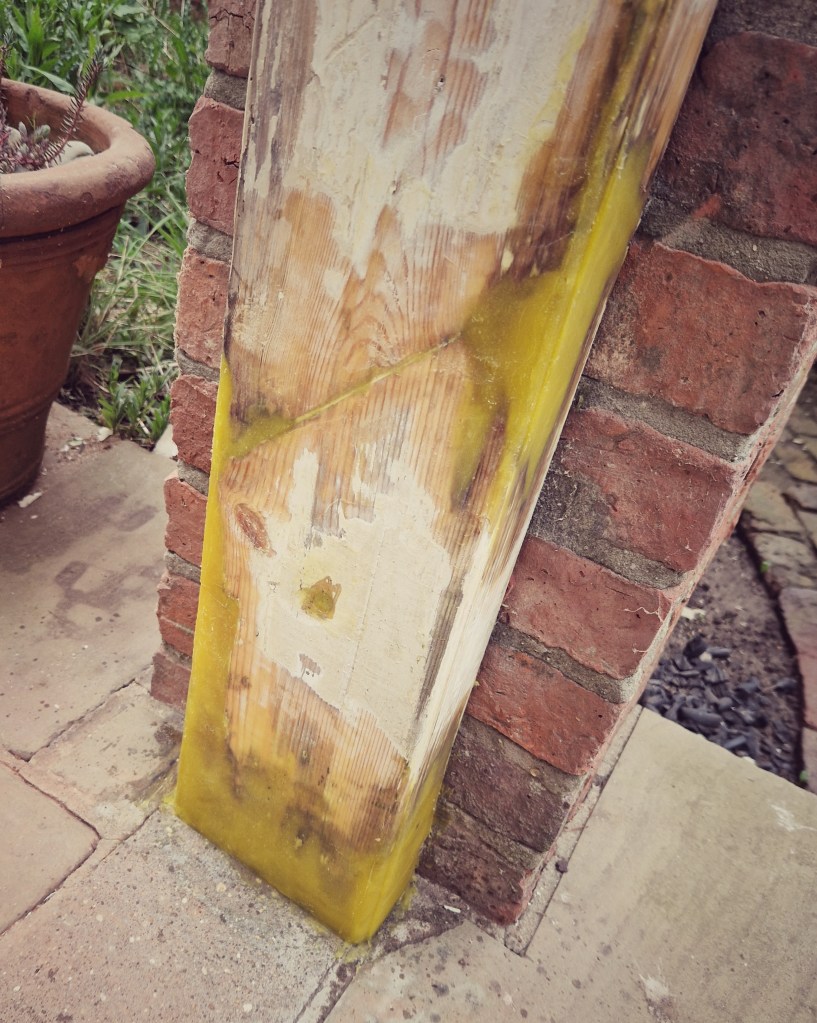
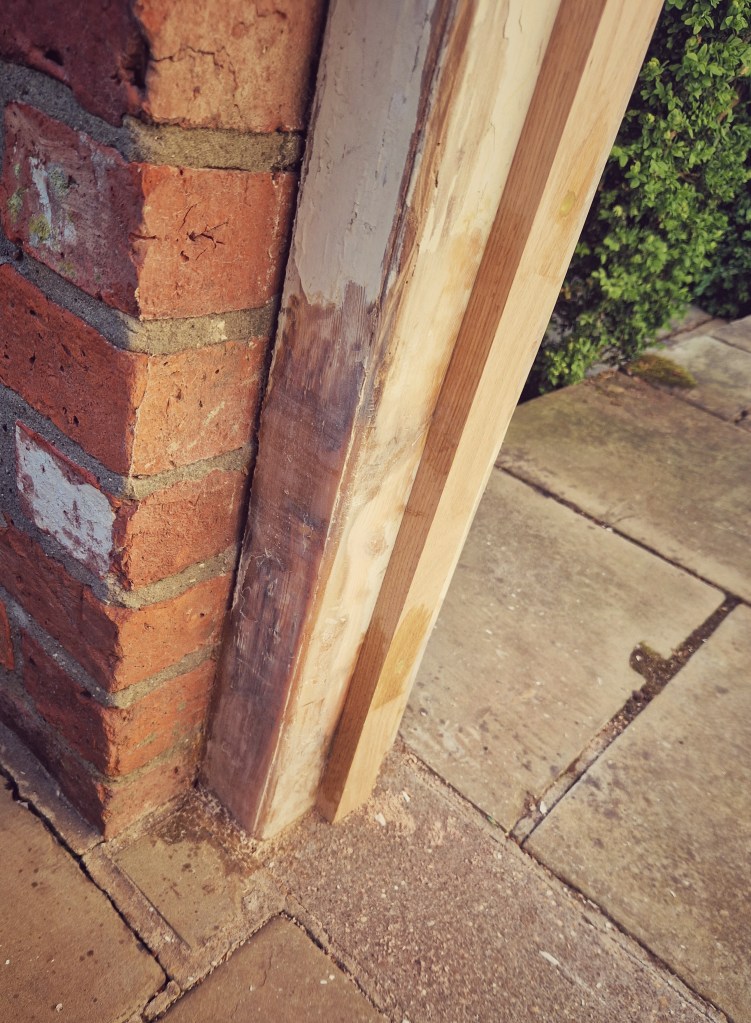
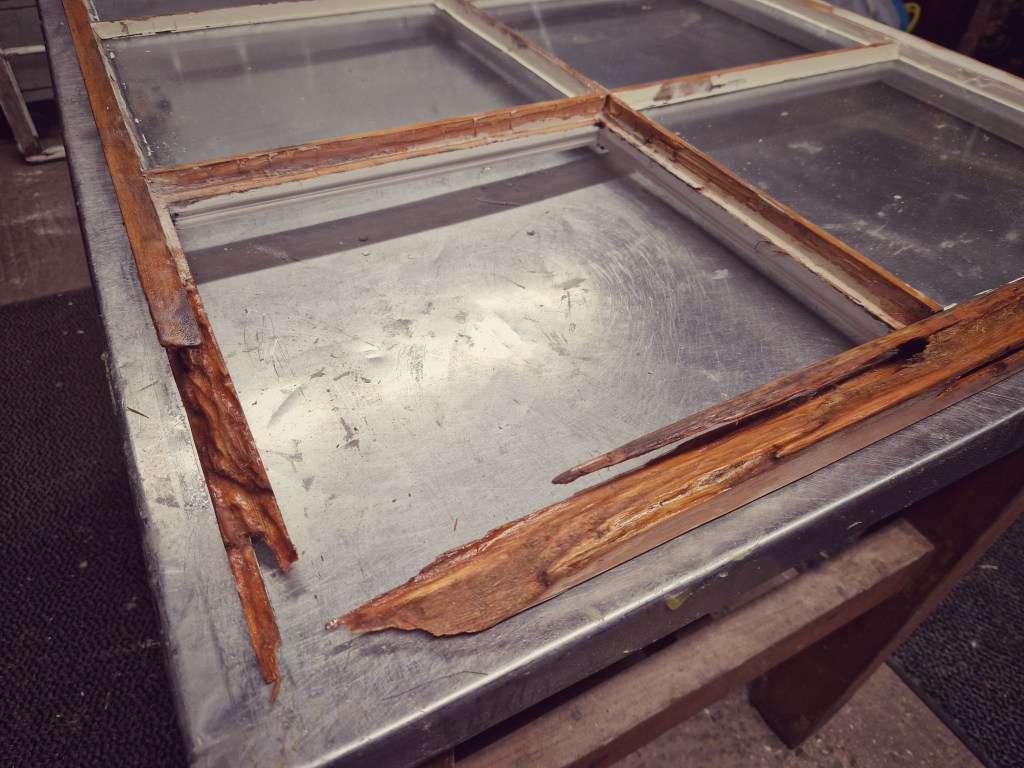
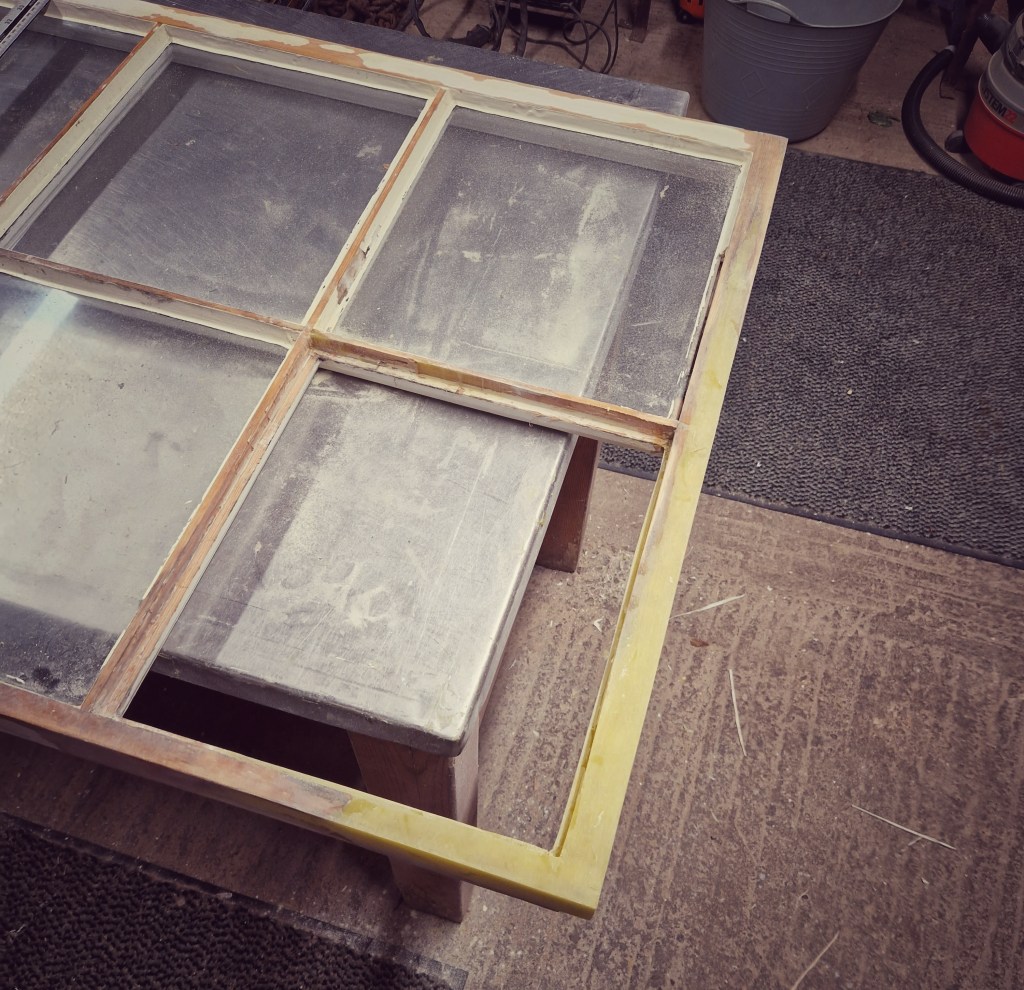
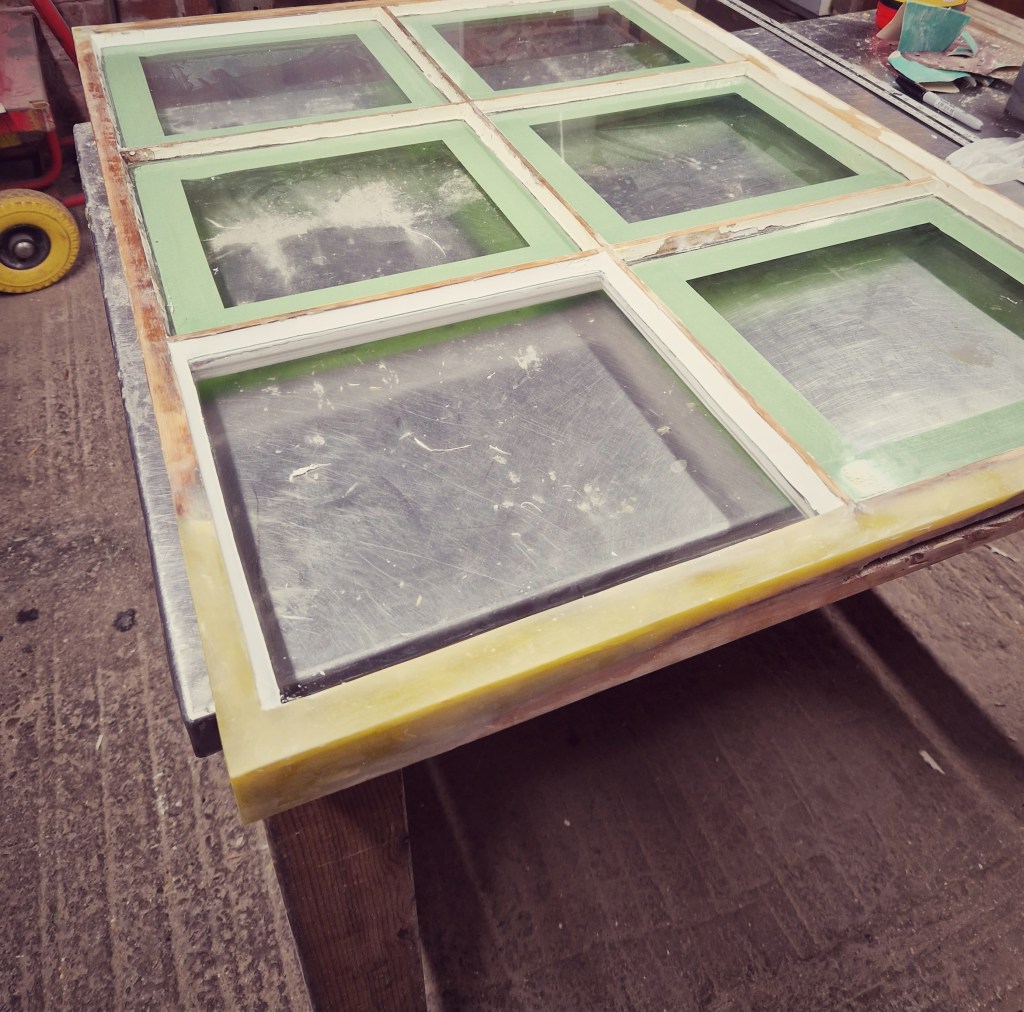
I have repaired the sash. It will go back into service, balanced and working as it should.
And somewhere, discreetly, where only another joiner might one day see it, I have left my own pencil mark.
Not for recognition.
Just to say I was here, and I cared enough to do it properly.